1. Ro-ràdh
Thank you for choosing the SILENTWARE Air 1000 Black ATX Midi Tower PC Case. This manual provides essential information for the proper installation, operation, and maintenance of your new PC case. Please read this manual thoroughly before beginning the assembly process to ensure a smooth and successful build.
2. Fiosrachadh Sàbhailteachd
- Always disconnect the power supply from the wall outlet before installing or removing any components inside the PC case.
- Handle components with care to avoid damage from electrostatic discharge (ESD). Consider using an anti-static wrist strap.
- Be cautious of sharp edges inside the case.
- Na feuch ri atharrachadh a dhèanamh air a’ chùis no air na pàirtean aice, oir dh’ fhaodadh seo do bharantas a dhèanamh neo-dhligheach agus cunnartan sàbhailteachd adhbhrachadh.
- Cùm a’ chùis air falbh bho uisge, taiseachd, agus teòthachd anabarrach.
3. Pasgan-susbaint
Dèan cinnteach gu bheil a h-uile nì an làthair sa phacaid agad:
- SILENTWARE Air 1000 Black ATX Midi Tower PC Case
- Pre-installed 4x 120mm ARGB Fans
- Accessory box (screws, cable ties, standoffs, etc.)
- Leabhar-làimhe cleachdaiche (an sgrìobhainn seo)
4. Toradh thallview
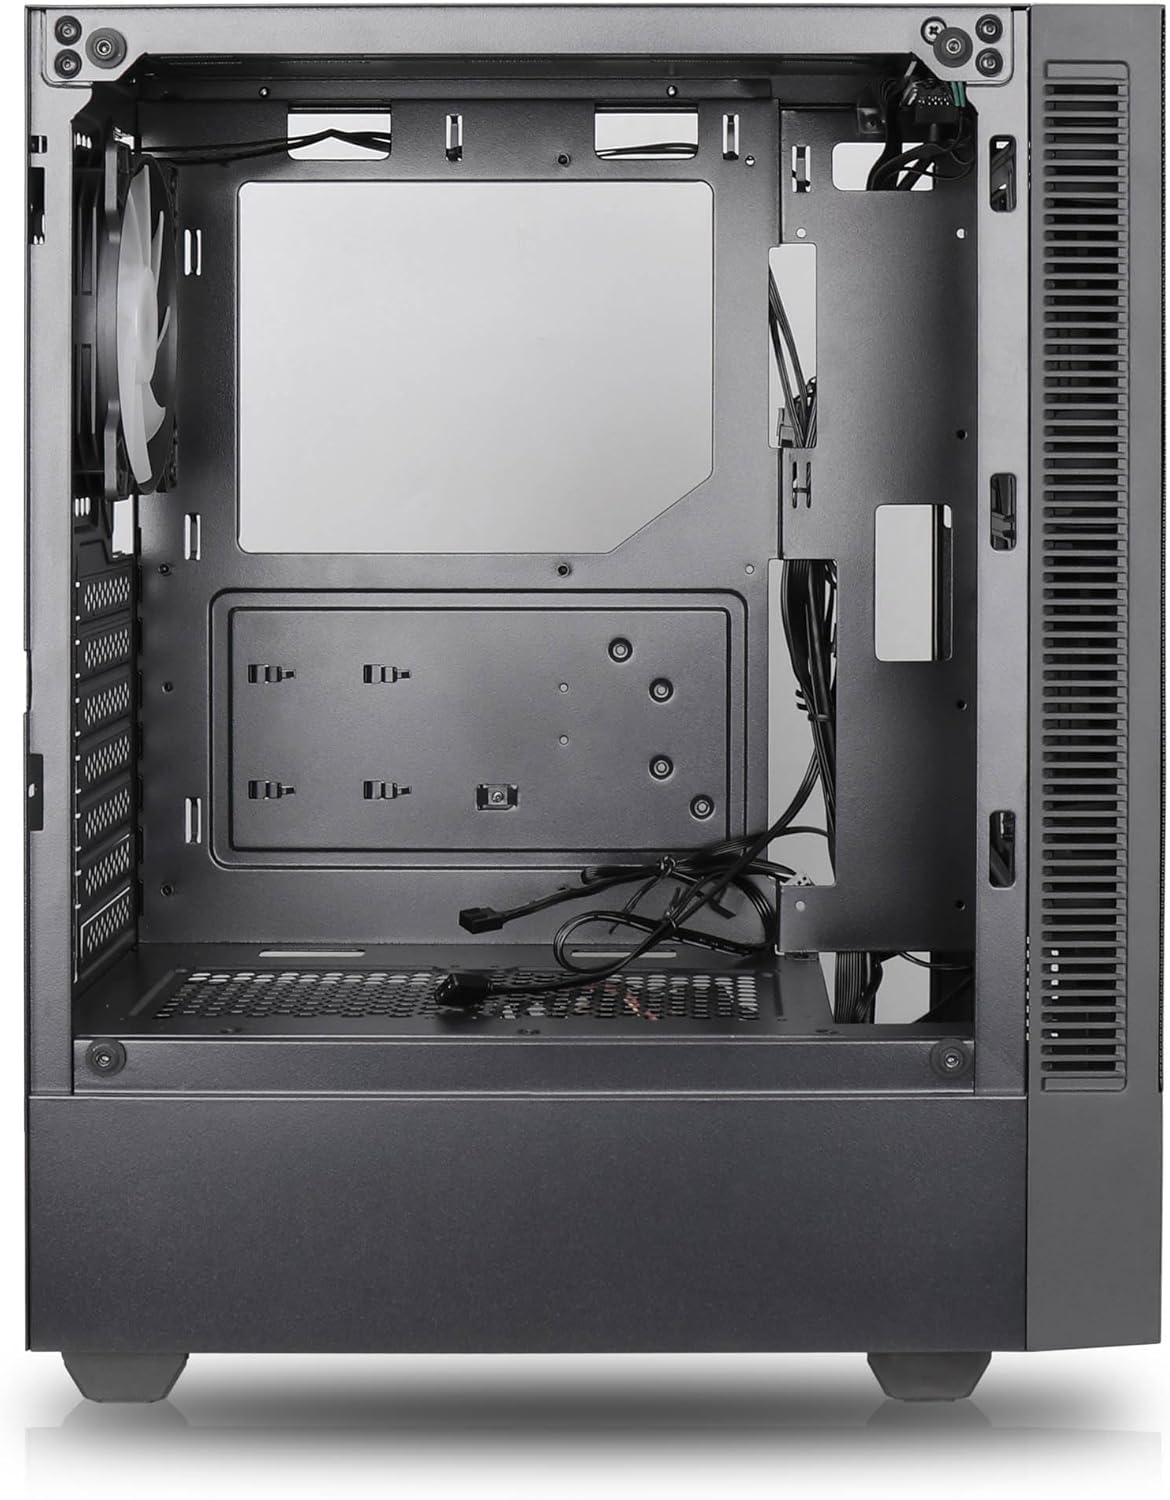
The SILENTWARE Air 1000 is an ATX Midi Tower PC case designed for optimal airflow and component compatibility. It features a mesh front panel for maximum ventilation and a tempered glass side panel to showcase your build.


Prìomh fheartan:
- Sruth-adhair as àirde: Large mesh front panel and four pre-installed 140mm A-RGB fans with hydraulic bearings ensure excellent ventilation.
- Easy PC Building: Thoughtful design with daisy-chain connections simplifies installation, eliminating the need for additional adapters or controllers.
- Dealbhadh de chàileachd àrd: Genuine tempered glass side panel showcases installed components and provides a minimalist, premium aesthetic.
- Flexible Lighting and Control: 3-pin A-RGB fans and 4-pin fan control allow for impressive lighting effects and easy adjustment of fan speed and curves directly from the motherboard.
- Powerful Component Compatibility: Supports GPUs up to 400mm long, radiators up to 360mm (front and top) and 140mm (rear), and space for up to 4 fans.
- Compact Case with Ample Space: Midi tower format accommodates E-ATX, ATX, mATX, and ITX motherboards, up to two 2.5" SSDs, two 3.5" HDDs, and ATX power supplies.
5. Stiùireadh stàlaidh
Follow these steps for component installation. Refer to your individual component manuals for specific instructions.
5.1. A’ cur a’ chùis air dòigh
- Cuir a’ chùis air uachdar rèidh, seasmhach.
- Carefully remove the tempered glass side panel by unscrewing the thumb screws and gently pulling it away. Set it aside on a soft, non-abrasive surface.
- Remove the solid right side panel by unscrewing the thumb screws and sliding it backward.
5.2. Stàladh motherboard
- Stàlaich an sgiath I/O a-steach do fhosgladh cùil a’ chùis.
- Ensure the correct standoffs are installed for your motherboard form factor (E-ATX, ATX, mATX, ITX). Adjust or add standoffs as needed.
- Cuir do bhòrd-màthar gu faiceallach air na standoffs, a’ co-thaobhadh nan tuill sgriubha.
- Secure the motherboard with the provided screws. Do not overtighten.
5.3. Stàladh Aonad Solarachaidh Cumhachd (PSU)
- Cuir am PSU san roinn shònraichte aig bonn cùl a’ chùis.
- Ensure the PSU fan faces downwards (if the case has a bottom vent) or upwards, depending on your cooling preference.
- Secure the PSU to the case with the provided screws from the rear.
5.4. Stàladh Draibh Stòraidh
SSDan 2.5":
- Locate the 2.5" drive mounts (typically behind the motherboard tray).
- Secure the SSDs using the provided screws.
Diosgan cruaidh 3.5":
- Locate the 3.5" drive cages (usually near the PSU shroud).
- Slide the HDDs into the drive trays and secure them with screws or tool-less mechanisms if available.
5.5. Stàladh Cairt Grafaigean (GPU)
- Thoir air falbh na còmhdaichean slot PCIe riatanach bho chùl a’ chùis.
- Align your GPU with the PCIe slot on the motherboard and press firmly until it clicks into place.
- Secure the GPU to the case with screws.
5.6. Riaghladh càball
Utilize the cable routing cutouts and tie-down points behind the motherboard tray to manage cables. This improves airflow and aesthetics.
6. Obrachadh
6.1. Cumhachdachadh Air adhart
After all components are installed and cables are connected, reattach the side panels. Connect the power cable to the PSU and a wall outlet, then press the power button on the top I/O panel of the case.
6.2. ARGB Fan Control
The pre-installed ARGB fans feature 3-pin ARGB connectors for lighting control and 4-pin connectors for fan speed control. These can be connected directly to compatible headers on your motherboard. Use your motherboard's software or BIOS settings to customize lighting effects and fan curves.
7. Cumail suas
7.1. Glanadh
- Regularly clean dust filters (if present) to maintain optimal airflow.
- Use a can of compressed air to remove dust from inside the case and components.
- Sguab na h-uachdaran a-muigh le bog, damp aodach. Seachain ceimigean cruaidh.
- For the tempered glass panel, use a glass cleaner and a microfiber cloth.
8. A ’dèanamh trioblaid
- PC not powering on: Check all power connections, including the 24-pin motherboard power, 8-pin CPU power, and GPU power cables. Ensure the PSU switch is in the 'ON' position.
- Fans not spinning/RGB not working: Verify that fan and ARGB headers are correctly connected to the motherboard. Check motherboard software for fan speed and lighting control settings.
- Overheating: Ensure proper airflow by checking fan orientation and cleaning dust filters. Verify CPU cooler and GPU cooler are properly seated.
- Gun taisbeanadh: Confirm the monitor cable is connected to the graphics card (not the motherboard integrated graphics, unless you are using integrated graphics). Reseat the graphics card and RAM modules.
9. Sònrachaidhean
| Feart | Sònrachadh |
|---|---|
| Brand | SILENTWARE |
| Ainm Modail | Silentware Flow 100 ARGB |
| Àireamh Modail Nì | LAOIDH100 |
| ASIN | B0CB8CZ5GF |
| Dath | Dubh |
| Seòrsa cùise | Tùr Meadhanach |
| Stuth | Glainne Tempered |
| Co-fhreagarrachd motherboard | ATX, Micro ATX, Mini ITX |
| Innealan co-fhreagarrach | ATX, mATX, ITX motherboards, GPUs up to 325mm, radiators up to 360mm, 2.5" and 3.5" storage drives |
| Cleachdaidhean Molta | Geamannan |
| Modh fuarachaidh | Air |
| Fans ro-stàlaichte | 4x 120mm ARGB Fans |
| Meud Fan | 140 Millimeters (Note: Product description mentions 140mm fans, while pre-installed are 120mm. Please verify with product packaging.) |
| Seòrsa Suidheachaidh Solar Cumhachd | Sliabh gu h-ìosal |
| Fad GPU Max | 400mm |
| Radiator Support (Front/Top) | Suas gu 360mm |
| Taic Rèideadair (Cùl) | Suas gu 140mm |
| Bàghan Draibh 2.5" | Suas gu 2 |
| Bàghan Draibh 3.5" | Suas gu 2 |
10. Barantas agus Taic
For warranty information and technical support, please refer to the official SILENTWARE website or contact your retailer. Specific details regarding spare parts availability and software updates are not available in the provided product information.