Gioteck SC3
Gioteck SC3 Wireless Pro Controller User Manual
For Nintendo Switch, PC, and Mobile Devices
Ro-ràdh
This manual provides detailed instructions for the setup, operation, and maintenance of your Gioteck SC3 Wireless Pro Controller. Designed for use with Nintendo Switch, PC, and mobile devices, this controller features programmable back buttons, customizable RGB lighting, and changeable magnetic thumb sticks for an enhanced gaming experience.
1. Suidhich
1.1 Susbaint a’ phacaid
- Gioteck SC3 Wireless Pro Controller
- Càball cosgais USB
- Additional Magnetic Thumb Sticks (if included)
- Leabhar-làimhe cleachdaiche (an sgrìobhainn seo)
1.2 A’ cur cosgais air an Rianadair
Before initial use, fully charge the controller. Connect the supplied USB charging cable to the controller's charging port and the other end to a USB power source (e.g., Nintendo Switch dock, PC USB port, or USB wall adapter).
- Seallaidh an comharra LED inbhe cosgais.
- Mar as trice bheir làn chosgais timcheall air 2-3 uairean a thìde.
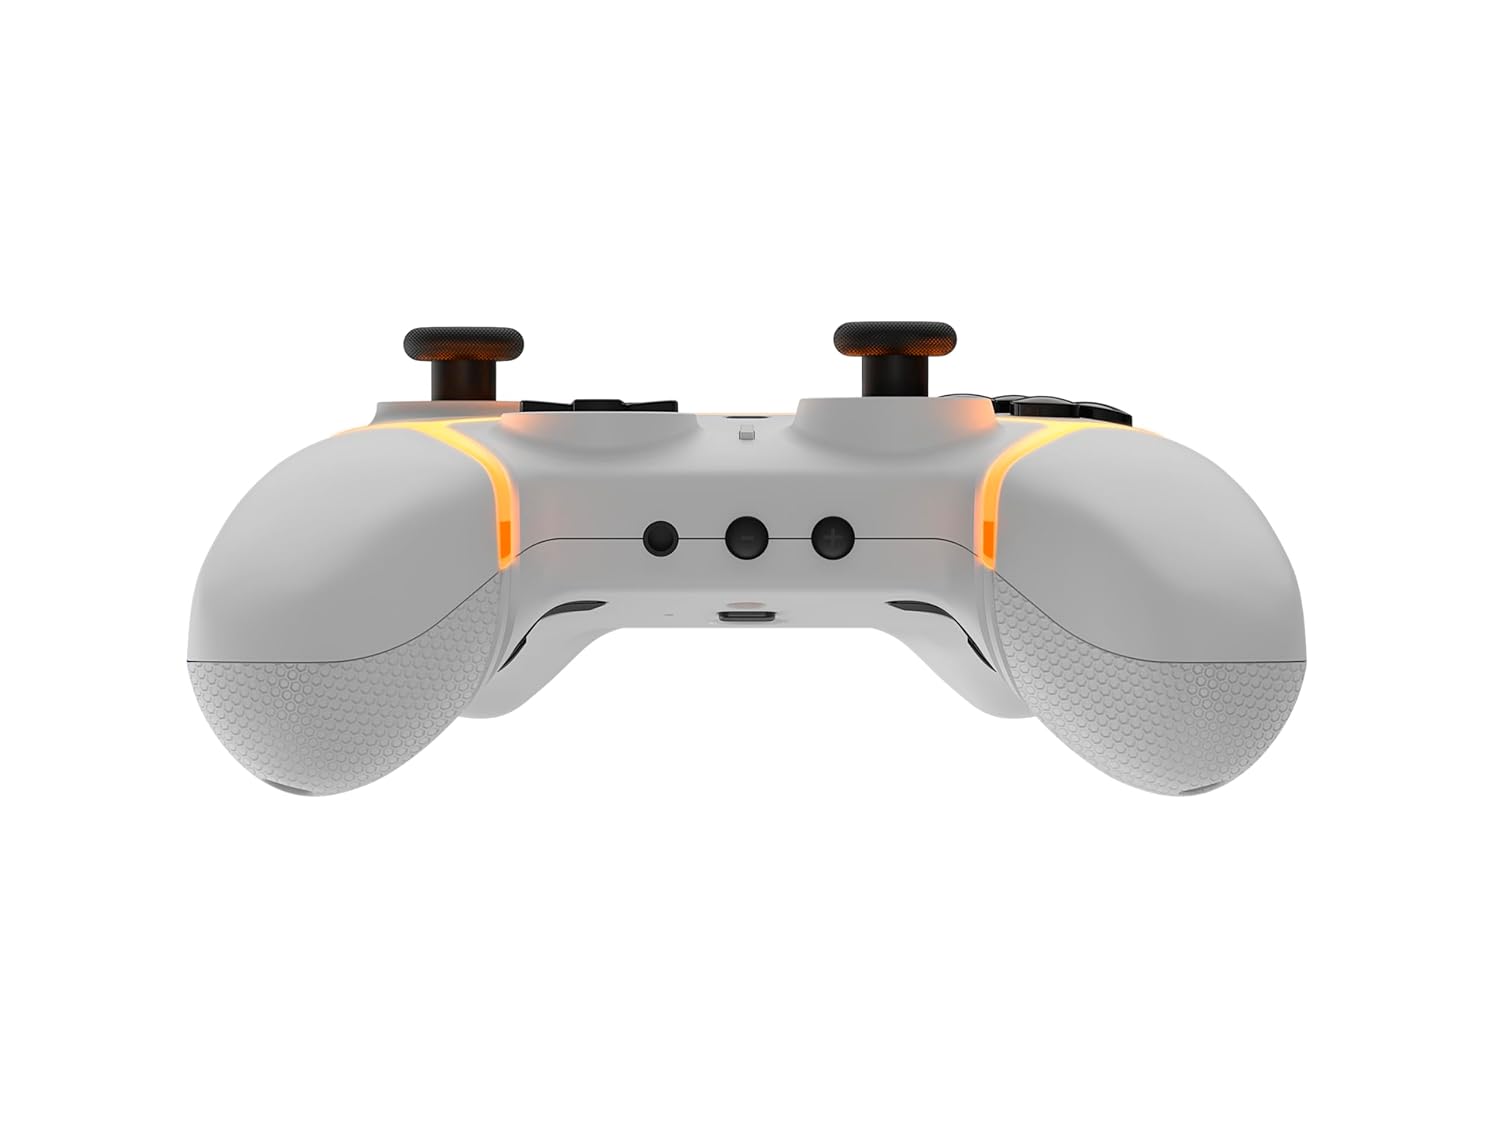
Ìomhaigh: Bun view of the Gioteck SC3 controller, highlighting the USB-C charging port located between the two textured grips.
1.3 A’ paidhreachadh le Nintendo Switch
- Bho Chlàr-taice Dachaigh Nintendo Switch, tagh Luchd-riaghlaidh, an uair sin Atharraich Grip/Òrdugh.
- On the SC3 controller, press and hold the Putan Paidhir (usually a small button on the top or back) for a few seconds until the LED indicators begin to flash rapidly.
- Once the controller is recognized by the Switch, the player LED(s) on the controller will illuminate solid, indicating successful pairing.
- Brùth an A phutan a dhearbhadh.
Note: For subsequent uses, the controller should automatically reconnect to the last paired Switch console when powered on.
1.4 Connecting to PC/Mobile (Bluetooth)
- Ensure Bluetooth is enabled on your PC or mobile device.
- On the SC3 controller, press and hold the Putan Paidhir for a few seconds until the LED indicators flash rapidly.
- On your PC/mobile device, navigate to Bluetooth settings and search for new devices.
- Select "Gioteck SC3" or similar from the list of available devices to pair.
- The controller's LED will become solid upon successful connection.
1.5 Installing Magnetic Thumb Sticks
The SC3 controller features changeable magnetic thumb sticks. To replace them:
- Gently pull the existing thumb stick straight up to remove it.
- Align the desired magnetic thumb stick with the base and gently push it down until it snaps into place.

Ìomhaigh: Aghaidh view of the Gioteck SC3 controller, showcasing the magnetic thumb sticks and button layout.
2. Stiùireadh Obrachaidh
2.1 Cruth a' Phutain
The SC3 controller features a traditional button layout. Refer to the image below for button identification.

Ìomhaigh: Aghaidh ceàrnach view of the Gioteck SC3 controller, displaying the full button layout including face buttons, D-pad, analog sticks, and shoulder buttons.
- Bataichean Analogach Clì/Deas: Airson gluasad agus smachd camara.
- D-Pad: Cuir a-steach stiùiridh.
- Putanan A/B/X/Y: Putanan gnìomh.
- Putanan Clì/R/ZL/ZR: Putanan gualainn is brosnachaidh.
- +/- Putanan: Start/Select equivalents.
- Putan Dachaigh: Returns to the console's home menu.
- Putan Glac: Takes screenshots.
2.2 Putanan Cùil Prògramaichte
The SC3 controller includes programmable back buttons (M1, M2, M3, M4) for custom assignments.

Ìomhaigh: Cùl view of the Gioteck SC3 controller, clearly showing the four programmable back buttons (M1, M2, M3, M4) and textured grips.
Ceumannan Prògramadh:
- Brùth agus cùm an Putan a 'phrògraim (refer to diagram if available, usually a small button on the back) until the LED indicator flashes.
- Brùth an Putan Cùl (M1, M2, M3, or M4) you wish to program. The LED will flash slowly.
- Brùth an Putan a-steach (e.g., A, B, X, Y, L, R, ZL, ZR, D-pad direction) you want to assign to the back button.
- Brùth an Putan a 'phrògraim again to save the assignment. The LED will stop flashing.
- Repeat for other back buttons as desired.
To clear a programmed button, follow steps 1-2, then press the Program Button again without pressing an input button.
2.3 Gnàthachadh Solais RGB
The controller features customizable RGB lighting. Specific instructions for changing colors or effects are typically found in the product's quick start guide or by pressing a dedicated button combination (e.g., Function + R3).
Consult the quick start guide included with your controller for precise button combinations to adjust RGB lighting.
2.4 Smachdan Gluasaid
The SC3 controller supports motion controls, allowing for immersive gameplay in compatible Nintendo Switch titles. No special setup is usually required; motion controls activate automatically when supported by the game.
2.5 Audio Headset Jack
A 3.5mm audio headset jack is located on the controller for connecting compatible headsets. It includes dedicated mute and volume control buttons.
- Meud suas/sìos: Atharraich toradh claisneachd.
- Putan Mute: Mute/unmute microphone input.

Ìomhaigh: Mullach view of the Gioteck SC3 controller, highlighting the 3.5mm audio jack, volume controls, and mute button.
3. Cumail suas
3.1 Glanadh
Gus an rianadair agad a ghlanadh, cleachd clò bog, tioram. Airson salachar stòlda, beagan bog.ampnigh an clò le uisge. Seachain ceimigean cruaidh, innealan-glanaidh sgrìobach, no fuasglaidhean a chleachdadh, oir faodaidh iad sin crìoch agus pàirtean a-staigh an rianadair a mhilleadh.
- Do not immerse the controller in water or any other liquid.
- Ensure all ports are dry before charging or connecting devices.
3.2 Stòradh
Stòraich an rianadair ann an àite fionnar, tioram air falbh bho sholas dìreach na grèine agus teòthachd anabarrach. Seachain nithean troma a chur air an rianadair gus casg a chur air milleadh.
3.3 Cùram Bataraidh
The controller contains a rechargeable battery. To prolong battery life:
- Seachain a bhith a’ leigeil às a’ bhataraidh gu tur gu tric.
- Charge the controller regularly, even if not in use for extended periods (e.g., once every 3-6 months).
- Do not expose the controller to temperatures above 60°C (140°F).
4. A ’dèanamh trioblaid
4.1 Chan eil an rianadair a’ ceangal/a’ paidhreachadh
- Thoir sùil air bataraidh: Dèan cinnteach gu bheil an rianadair air a luchdachadh gu leòr.
- Ath-chàraid: Follow the pairing instructions in Section 1.3 or 1.4.
- Eadar-theachd: Move closer to the console/device and away from potential sources of wireless interference (e.g., Wi-Fi routers, other Bluetooth devices).
- Ath-shuidhich an Smachdair: Locate a small reset button (often a pinhole) on the back of the controller. Use a paperclip to press and hold it for a few seconds. Then attempt to re-pair.
- Update Console/Device Software: Ensure your Nintendo Switch, PC, or mobile device's operating system is up to date.
4.2 Buttons/Sticks Not Responding
- Re-sync: Dì-cheangail agus ath-cheangail an rianadair.
- Glan: Dèan cinnteach nach eil sprùilleach sam bith glaiste timcheall air na putanan no na bataichean.
- Test in another game/menu: Determine if the issue is specific to a game or system-wide.
- Ath-shuidhich an Smachdair: Dèan ath-shuidheachadh cruaidh mar a chaidh a mhìneachadh gu h-àrd.
4.3 Motion Controls Not Working
- Co-fhreagarrachd geama: Verify that the game you are playing supports motion controls.
- Ath-chlàraich: On Nintendo Switch, you can recalibrate motion controls in the system settings.
- Ath-shuidhich an Smachdair: Dèan ath-shuidheachadh cruaidh.
5. Sònrachaidhean
| Modail: | Gioteck SC3 Wireless Pro Controller |
| Co-chòrdalachd: | Nintendo Switch (Original, Lite, OLED), PC, Mobile Devices |
| Ceangal: | Gun uèir Bluetooth |
| Meudan (approx.): | 2.87 x 5.35 x 6.34 òirleach (7.29 x 13.59 x 16.1 cm) |
| Cuideam (approx.): | 10.6 unnsa (300 gram) |
| Seacaid claisneachd: | 3.5mm with mute and volume controls |
| Feartan sònraichte: | Programmable back buttons, Magnetic thumb sticks, RGB lighting, Motion controls |
6. Fiosrachadh Barantais
The Gioteck SC3 Wireless Pro Controller comes with a manufacturer's warranty. For specific details regarding warranty coverage, duration, and claims process, please refer to the warranty card included with your product or visit the official Gioteck weblàrach.
Cùm dearbhadh do cheannach airson adhbharan barantais.
7. Taic teachdaiche
If you encounter any issues or have questions not covered in this manual, please contact Gioteck customer support. Contact information can typically be found on the product packaging or the official Gioteck weblàrach.
Gioteck Official Weblàrach: www.gioteck.com
Ask a question about this manual
Ask about setup, troubleshooting, compatibility, parts, safety, or missing instructions. Manuals+ will review the question and use this page’s manual context to help answer it.