1. Ro-ràdh
This manual provides essential information for the proper installation, configuration, and operation of your Hikvision Turbo HD DVR 8-Channel, model DS-7108HGHI-K1(S). Please read this manual thoroughly before using the device to ensure safe and efficient operation. Keep this manual for future reference.
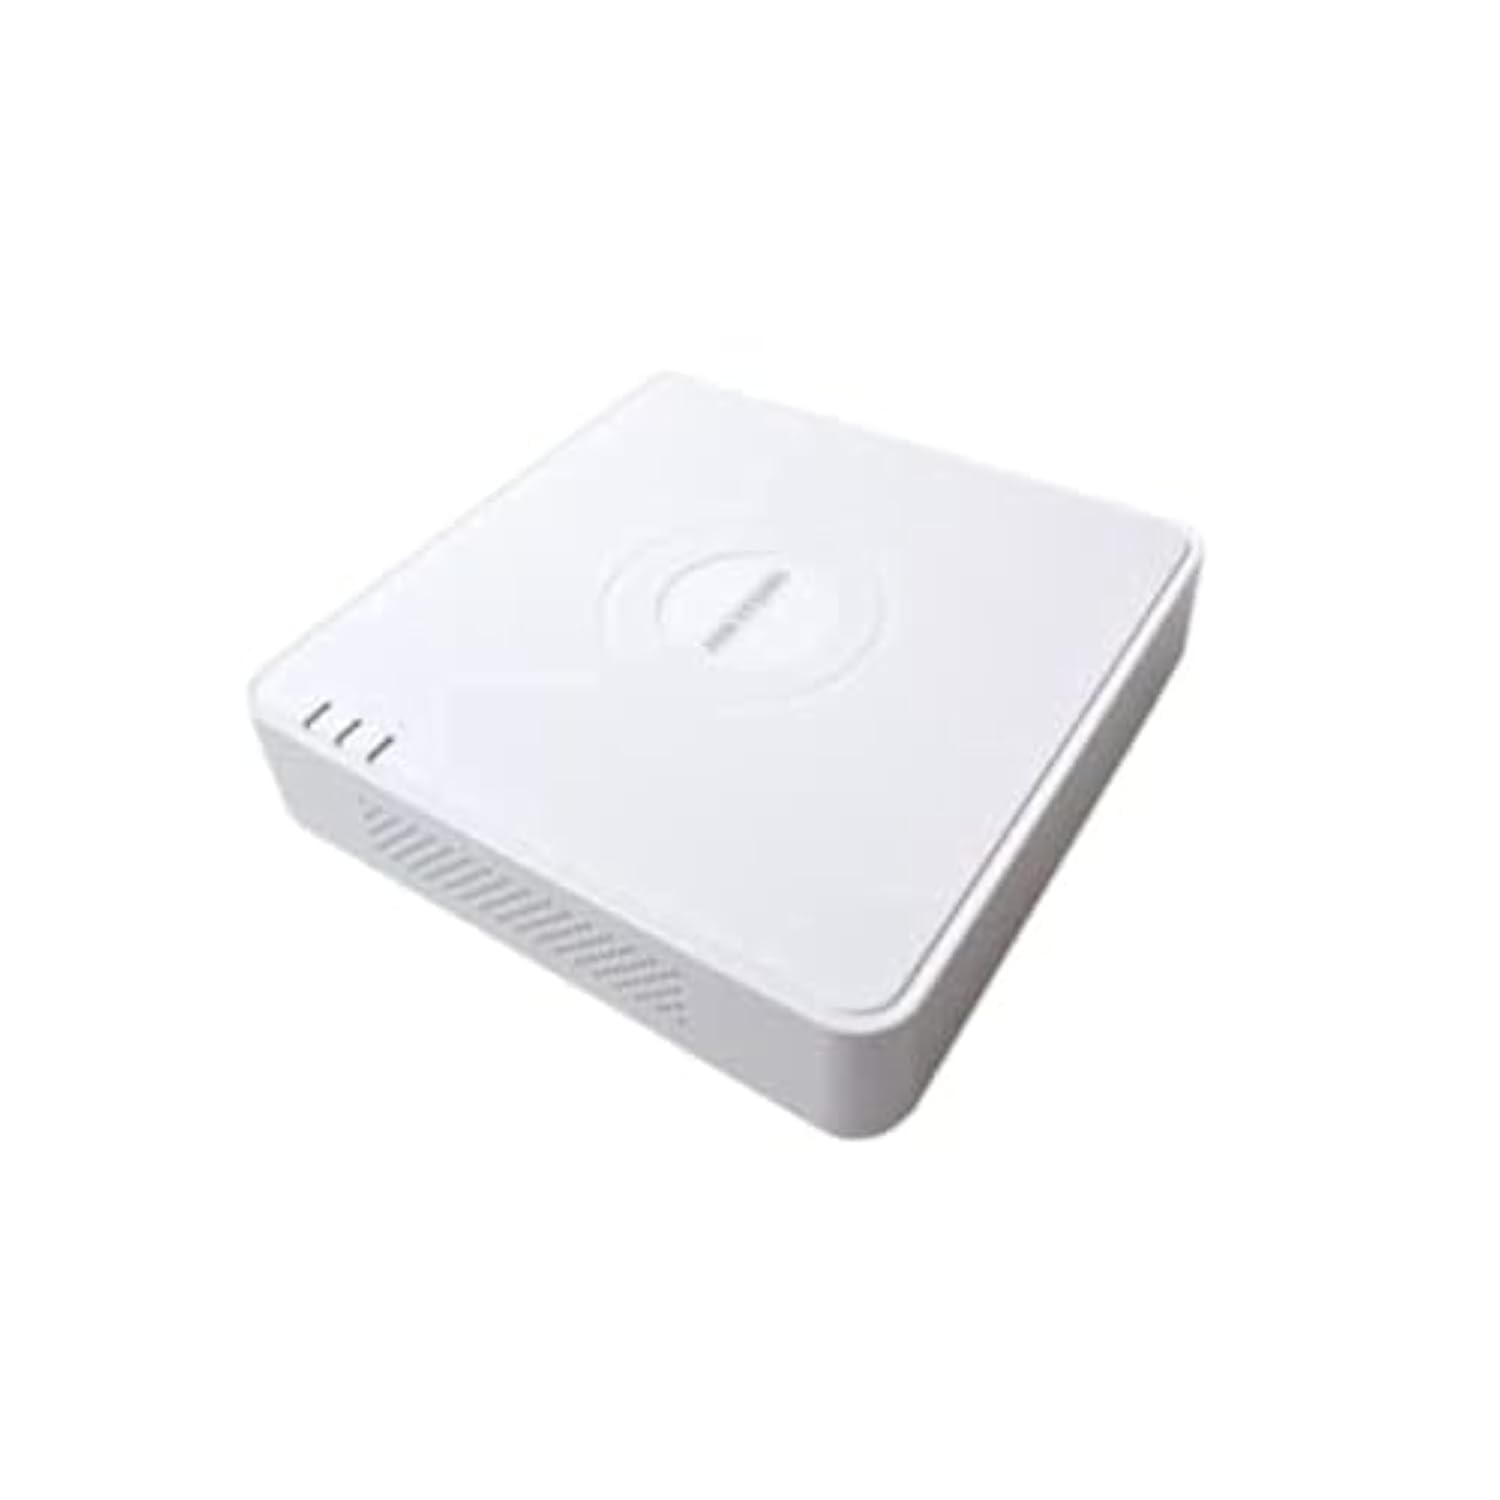
This image shows the Hikvision Turbo HD DVR unit from a front-side perspective, highlighting its compact design, ventilation grilles, and status indicator lights.
2. Feartan toraidh
- High-definition 8-channel Turbo HD DVR
- Supports audio transmission over coaxial cable
- Equipped with one SATA interface for storage
- Plastaig seasmhach casing for protection
- Video encoding capabilities up to 1080p Lite at 15 frames per second
- Advanced video compression: H.265 Pro+/H.265 Pro/H.265
3. Stiùirich rèiteachaidh
3.1 Unpacking agus Sgrùdadh
Carefully unpack the DVR and all accessories. Verify that all components are present and undamaged. If any items are missing or damaged, contact your supplier immediately.
3.2 A’ ceangal an DVR
- Connect Hard Drive (if not pre-installed): Fosgail an DVR casing, connect the SATA data and power cables to the hard drive, and secure the drive.
- Ceangail Camaraichean: Connect your Turbo HD cameras to the BNC video input ports on the rear panel.
- Ceangail Monitor: Use an HDMI or VGA cable to connect a monitor to the corresponding output port on the DVR.
- Ceangail an luchag: Cuir an luchag USB a-steach do phort USB air an DVR.
- Ceangal lìonra: Connect an Ethernet cable from your router/switch to the LAN port on the DVR for network access and remote viewing.
- Ceangal cumhachd: Ceangail an inneal-atharrachaidh cumhachd ri cuir a-steach cumhachd an DVR agus an uairsin ri socaid cumhachd. Tòisichidh an DVR air gu fèin-ghluasadach.
3.3 Rèiteachadh tùsail
Upon first power-on, the DVR will guide you through an initial setup wizard. This includes setting up a strong password, configuring network settings, and initializing the hard drive. Follow the on-screen prompts to complete the setup.
4. Stiùireadh Obrachaidh
4.1 Beò View
Às dèidh an t-suidheachaidh thùsail, nochdaidh an DVR an taisbeanadh beò view from all connected cameras on the monitor. You can switch between single-camera view agus griod ioma-chamara view a’ cleachdadh nan smachdan air an sgrion no na luchaige.
4.2 Clàradh
The DVR is typically configured for continuous recording by default. You can access the recording schedule settings via the main menu to customize recording modes (e.g., motion detection, scheduled recording) for each channel.
4.3 Ath-chluich
Gu athview foo air a chlàradhtage, navigate to the Playback menu. Select the desired camera(s) and time range. You can use the timeline and playback controls to fast forward, rewind, or pause the video.
4.4 Ruigsinneachd Iomallach
Airson iomallach viewing on a mobile device or computer, ensure the DVR is connected to the internet. Download the official Hik-Connect app (or client software) and follow the instructions to add your DVR using its serial number or QR code. This allows you to view live feeds and playback recordings from anywhere with an internet connection.
5. Cumail suas
5.1 Glanadh cunbhalach
Keep the DVR clean by wiping its exterior with a soft, dry cloth. Ensure ventilation openings are free from dust and obstructions to prevent overheating.
5.2 Ùrachaidhean Firmware
Thoir sùil bho àm gu àm air an oifigear Hikvision website for firmware updates. Keeping your DVR's firmware up-to-date ensures optimal performance, security, and access to new features. Follow the provided instructions carefully when performing updates.
5.3 Cùl-taic dàta
Dèan cùl-taic cunbhalach de bhideothan cudromachtage to an external USB drive or network storage. This helps prevent data loss in case of hard drive failure or other unforeseen issues.
6. A ’dèanamh trioblaid
6.1 Gun Toradh Bhidio
- Check all video cable connections (BNC, HDMI, VGA) to ensure they are secure.
- Dearbhaich gu bheil am monitor air a chumhachdachadh agus air a shuidheachadh chun an stòr cuir-a-steach ceart.
- Ensure cameras are powered and functioning correctly.
6.2 Duilgheadasan Ceangail Lìonra
- Confirm the Ethernet cable is properly connected to both the DVR and the router/switch.
- Check network settings in the DVR menu (IP address, gateway, DNS). Ensure they are correct for your network.
- Restart your router/switch and the DVR.
6.3 Duilgheadasan Clàraidh
- Verify that a hard drive is installed and properly initialized.
- Check the recording schedule and settings for the affected channels.
- Ensure there is sufficient free space on the hard drive.
7. Sònrachaidhean
| Feart | Mion-fhiosrachadh |
|---|---|
| Dèanadair | Hikvision |
| Modail Àireamh | DS-7108HGHI-K1(S) |
| Meudan toraidh (W x D x H) | 10 x 10 x 3 cm (approximate, based on video) |
| Cuideam nì | 1000 gram (1 kg) |
| Teicneòlas ceangail | Ethernet |
| Innealan co-fhreagarrach | Camara |
| Comas stòraidh cuimhne | 4 Terabytes (HDD not included) |
| Meud diosc cruaidh | 4 Terabytes (Maximum supported) |
| Caitheamh cumhachd | 17 watt |
| Àireamh nan Sianalan | 8 |
| Digital Video Media Format | MP4 |
8. Barantas agus Taic
For specific warranty terms and conditions, please refer to the documentation provided with your purchase or contact Hikvision directly. Technical support may be available through the Hikvision official weblàrach no an neach-reic ùghdarraichte agad.