1. Ro-ràdh
This manual provides detailed instructions for the setup, operation, maintenance, and troubleshooting of your UF-TOOLS 7-Inch LCD Digital Microscope. Please read this manual thoroughly before using the device to ensure proper functionality and to maximize its lifespan.
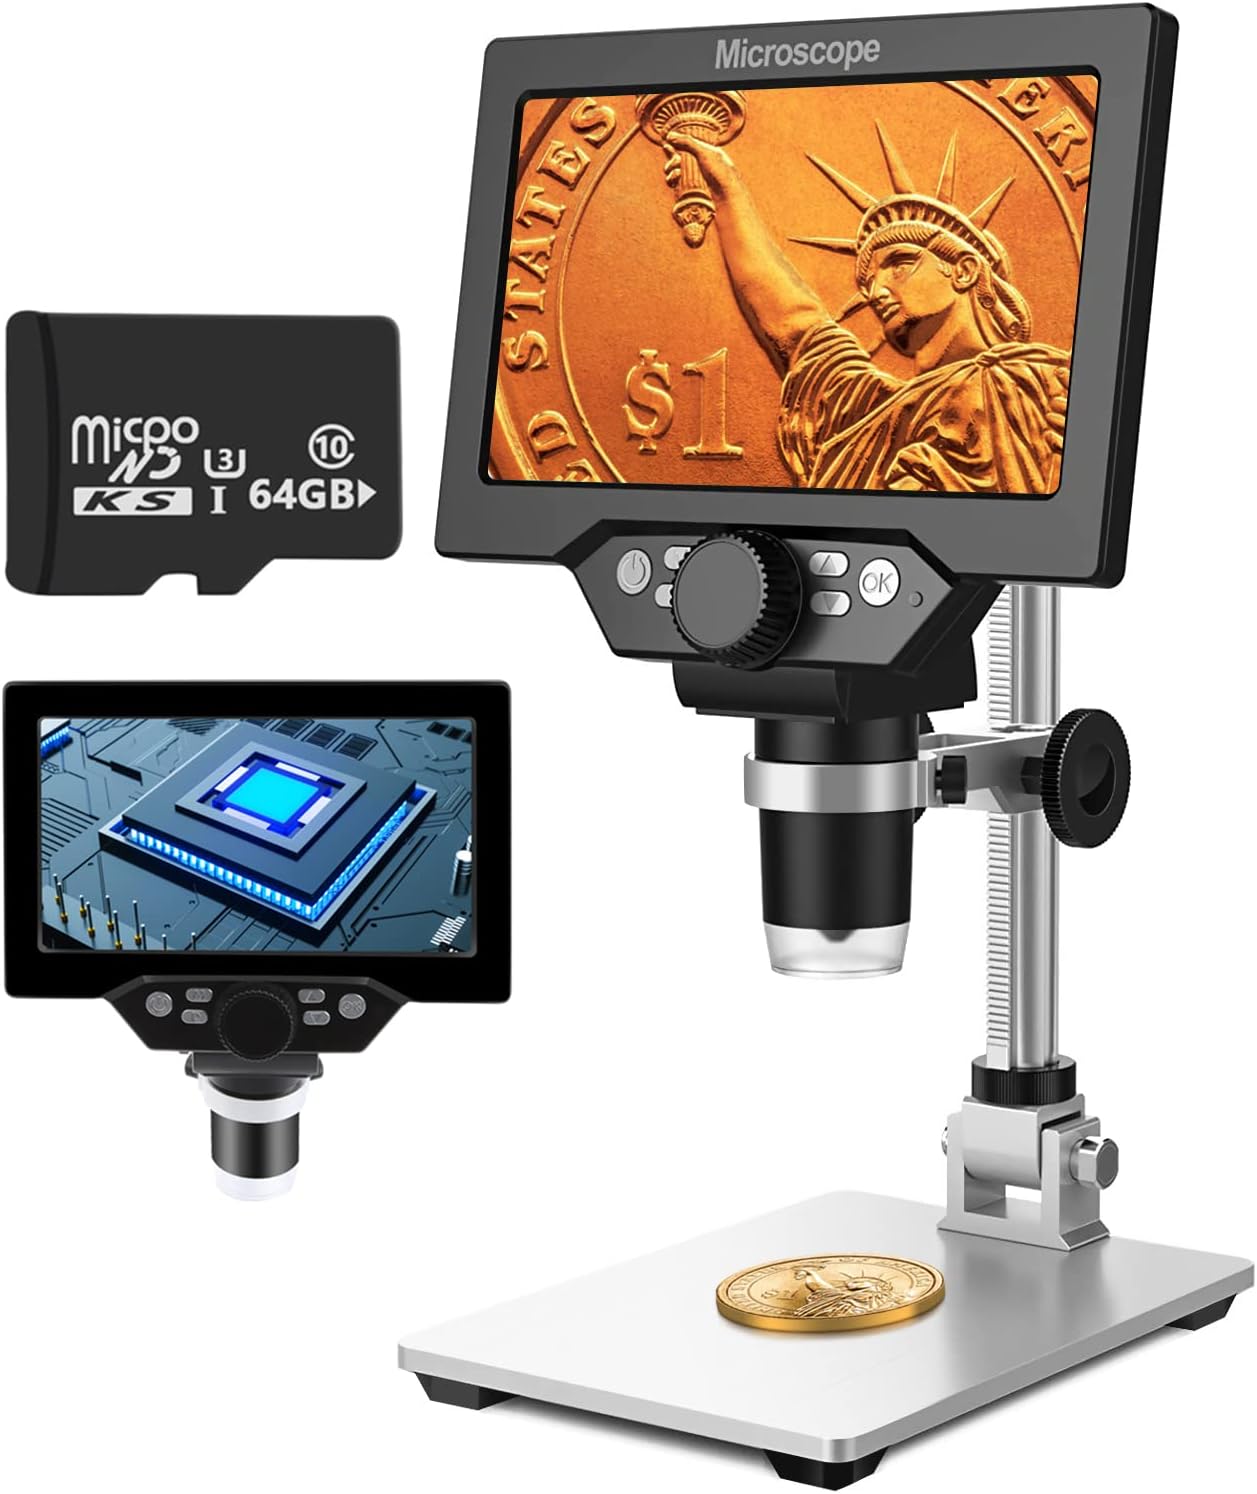
Image 1.1: UF-TOOLS 7-Inch LCD Digital Microscope with included 64GB TF card, showing the main unit and stand.
1.1 Prìomh fheartan
- Sgrion LCD 7-òirleach: Provides a clear, high-definition display for direct viewing without a computer.
- 10X-1200X Magnification: Continuous zoom capability for observing various objects.
- Camara 12MP: Captures high-resolution images and 1080P video.
- 64GB TF Card: Included for direct storage of photos and videos. Supports up to 128GB.
- 8 Adjustable LED Lights: Ensures optimal illumination for detailed observation.
- Flexible Aluminum Alloy Stand: Allows for 90° angle adjustment and 2-10cm focus distance adjustment.
- Bataraidh 3000mAh togte a-steach: Offers portability with up to 6 hours of operation on a full charge.
- Ceangal PC: Compatible with Windows 7/8/10 for larger display and data transfer.
2. Pasgan-susbaint
Dearbhaich gu bheil na nithean gu lèir a tha air an liostadh gu h-ìosal an làthair sa phacaid agad:
- UF-TOOLS 7-Inch LCD Digital Microscope Unit
- Adjustable Aluminum Alloy Stand
- Cairt TF 64GB
- Càball USB
- Adaptor Cumhachd (ma tha e ann)
- Leabhar-làimhe cleachdaiche (an sgrìobhainn seo)

Image 2.1: The microscope package includes a 64GB TF card for storage.
3. Stiùirich rèiteachaidh
3.1 A’ cur a’ Mhicreasgòp ri chèile
- Thoir a h-uile pàirt a-mach às a’ bhogsa gu faiceallach.
- Attach the microscope unit to the adjustable aluminum alloy stand. Ensure it is securely fastened using the provided screws or locking mechanisms.
- Insert the 64GB TF card into the designated slot on the microscope unit.
- Place the assembled microscope on a stable, flat surface.

Image 3.1: Product dimensions and adjustable stand features, including 270° rotation and height adjustment.
3.2 A’ cur cosgais air a’ bhataraidh
The microscope has a built-in 3000mAh rechargeable battery. Before first use, fully charge the device.
- Connect the USB cable to the microscope's charge port and the other end to a power adapter or a computer's USB port.
- Seallaidh an solas comharra cosgais inbhe a’ chosgais.
- A full charge typically provides up to 6 hours of continuous use.

Image 3.2: The microscope features a long-lasting rechargeable battery, charged via USB.
4. Stiùireadh Obrachaidh
4.1 inneal thairisview agus Smachdan

Dealbh 4.1: Thairisview of the microscope's controls and ports, including charge port, MicroSD slot, light regulation, fixed knob, lifting adjusting bracket knob, and various function buttons.
- Cumhachd air / dheth: Brùth is cum sìos am putan Cumhachd gus an inneal a thionndadh air no dheth.
- Video/Camera Playback: Use dedicated buttons to switch between video recording, photo capture, and playback modes.
- System Key Programming: Access menu settings for various configurations.
- Atharrachadh Astar Rud: Adjust the distance between the lens and the object.
- Duilleag Suas/Sìos: Navigate through menus or captured media.
- Confirm Key/Camera Button: Select options or capture photos/videos.
- Light Regulation: Adjust the brightness of the 8 LED lights.
- Cnap Stèidhichte: Secures the microscope unit to the stand.
- Lifting Adjusting Bracket Knob: Adjusts the height of the microscope unit on the stand.
4.2 Adjusting Magnification and Focus
- Place the object you wish to observe on the base plate.
- Adjust the height of the microscope unit using the Lifting Adjusting Bracket Knob to get a rough focus.
- Use the focus wheel on the microscope lens to fine-tune the focus until the image on the 7-inch LCD screen is clear.
- The magnification range is 10X to 1200X. Adjust the distance between the lens and the object, along with the focus wheel, to achieve the desired magnification.

Image 4.2: The microscope features an adjustable screen, free length adjustment, and precise focus control.

Image 4.3: Digital magnification from 10X to 1200X, demonstrating the zoom capability on small objects.
4.3 A’ cleachdadh nan solais LED
The microscope is equipped with 8 adjustable LED lights to illuminate your subject. Use the Light Regulation control to increase or decrease brightness as needed for optimal viewing.

Image 4.4: The 8 LED lights provide adequate illumination for observing objects in various lighting conditions.
4.4 A’ glacadh dhealbhan is bhideothan
With the included 64GB TF card, you can directly save images and videos.
- In photo mode, press the Confirm/Camera button to capture an image.
- In video mode, press the Confirm/Camera button to start recording, and press again to stop.
- Captured media can be reviewed using the playback function.
4.5 Ceangal PC
Gu view observations on a larger screen or transfer files, connect the microscope to a Windows PC (Windows 7/8/10) using the provided USB cable.
- Connect the microscope to your PC via the USB cable.
- The microscope should be recognized as a storage device or a webcam, depending on the mode selected on the microscope.
- You can then access the stored images/videos or use the microscope as a live camera feed.

Image 4.5: Connect the microscope to a PC for a larger viewing experience and data management.
5. Cumail suas
5.1 Glanadh
- Lionsa: Use a soft, lint-free cloth specifically designed for optical lenses. For stubborn smudges, a small amount of lens cleaning solution can be applied to the cloth, not directly to the lens.
- Sgrion: Wipe the LCD screen gently with a microfiber cloth. Avoid harsh chemicals.
- Corp: Clean the microscope body and stand with a soft, dry cloth. Do not use abrasive cleaners or solvents.
5.2 Stòradh
- Stòraich am miocroscop ann an àite fionnar, tioram air falbh bho sholas dìreach na grèine agus teòthachd anabarrach.
- Ma tha thu ga stòradh airson ùine mhòr, dèan cinnteach gu bheil am bataraidh air a ghearradh gu ìre (timcheall air 50%) gus a bheatha a leudachadh.
- Keep the lens covered to prevent dust accumulation.
5.3 Cùram Bataraidh
- Seachain a bhith a’ leigeil às a’ bhataraidh gu tur gu tric.
- Cuir cosgais air a’ bhataraidh gu cunbhalach, fiù mura h-eil i ga cleachdadh, gus a slàinte a chumail suas.
- Na nochd am bataraidh gu teòthachd àrd.
6. A ’dèanamh trioblaid
- Gun chumhachd:
- Ensure the battery is charged. Connect the microscope to a power source and try again.
- Thoir sùil air a’ cheangal càball cumhachd.
- Ìomhaigh neo-shoilleir:
- Adjust the focus wheel carefully.
- Adjust the height of the microscope unit on the stand.
- Ensure the object is properly illuminated by adjusting the LED lights.
- Clean the lens if smudges or dust are present.
- Cannot Capture Photos/Videos:
- Ensure a TF card is inserted and properly formatted.
- Check if the TF card has sufficient storage space.
- Verify the device is in the correct photo or video capture mode.
- PC Not Recognizing Device:
- Ensure the USB cable is securely connected to both the microscope and the PC.
- Feuch port USB eile air a’ choimpiutair agad.
- Restart both the microscope and the PC.
- Ensure your PC is running Windows 7/8/10.
7. Sònrachaidhean
| Feart | Mion-fhiosrachadh |
|---|---|
| Ainm Modail | SUGON-Digital Microscope |
| Meud sgrion | 7 òirleach LCD |
| Meudachadh | 10X-1200X |
| Fuasgladh camara | 12MP |
| Fuasgladh bhidio | 1080p |
| Stòradh | 64GB TF Card (Max 128GB supported) |
| Soillseachadh | 8 Solais LED |
| Comas Bataraidh | Polymer lithium 3000mAh |
| Beatha bataraidh | Suas ri 6 uairean a thìde (timcheall air) |
| Co-fhreagarrachd PC | Windows 7/8/10 |
| Stuth | Meatailt, plastaig |
| Cuideam nì | 2.44 not (1.11 kg) |
| Meud pacaid | 9.8 x 8.19 x 3.35 òirleach |
8. Barantas agus Taic
UF-TOOLS provides the following warranty and support for this product:
- Ùine tilleadh: 45 days limited product return period.
- Poileasaidh Malairt: 18 months exchange for product defects.
For technical support or warranty claims, please contact UF-TOOLS customer service through the retailer where the product was purchased or visit the official UF-TOOLS weblàrach-lìn airson fiosrachadh conaltraidh.
Nota: Dh’fhaodadh teirmichean barantais atharrachadh a rèir na sgìre agus an neach-reic. Cùm dearbhadh do cheannach.