REXING H6
Leabhar-làimhe Cleachdaiche Camara Slighe Dùbailte REXING Woodlens H6
Modail: H6
1. Ro-ràdh
The REXING Woodlens H6 is an advanced dual-camera trail camera designed for capturing high-quality video and still images of wildlife, property, or other outdoor subjects. Featuring both a 4K Ultra HD lens for daytime recording and an FHD Infrared lens for night vision, the H6 ensures clear visuals in various lighting conditions. Its robust, weather-resistant design and long standby time make it an ideal solution for extended outdoor surveillance.
2. Toradh thallview agus Prìomh fheartan
- Siostam Camara Dùbailte: Captures 4K Ultra HD video during the day and FHD Infrared video at night with simultaneous audio recording. Designed to avoid IR CUT switching sounds that might disturb wildlife.
- Ìomhaigh àrd-rùn: Supports up to 20MP still images and cinematic video quality.
- Integrated LCD & Speaker: Features a built-in 2.4-inch LCD screen and speaker for direct viewing and editing of recordings without external devices.
- Sealladh oidhche adhartach: Equipped with 35M IR Flash and double 850nm high-powered Infrared lights, illuminating subjects up to 65 feet away for clear night images.
- Astar Brosnachaidh Luath: Responds to motion within 0.2 seconds via 110° PIR sensors (Front + Side Sensor).
- Roghainnean Clàraidh Sùbailte: Allows manual scheduling for recording start/stop times and supports time-lapse videos and photos.
- Durable and Secure Design: IP66 rated sturdy open/close case protects against rain and dust. The camera can be password-protected and secured with a lock.
- Extended Standby: Supports up to 512GB SD card and offers up to 12 months of standby time.

Figear 2.1: Aghaidh view of the REXING Woodlens H6 Trail Camera, showcasing its camouflage design and dual lenses.

Figure 2.2: The REXING Woodlens H6 captures stunning 4K UHD video and 20MP photos, as demonstrated by this image of a deer in its natural habitat.
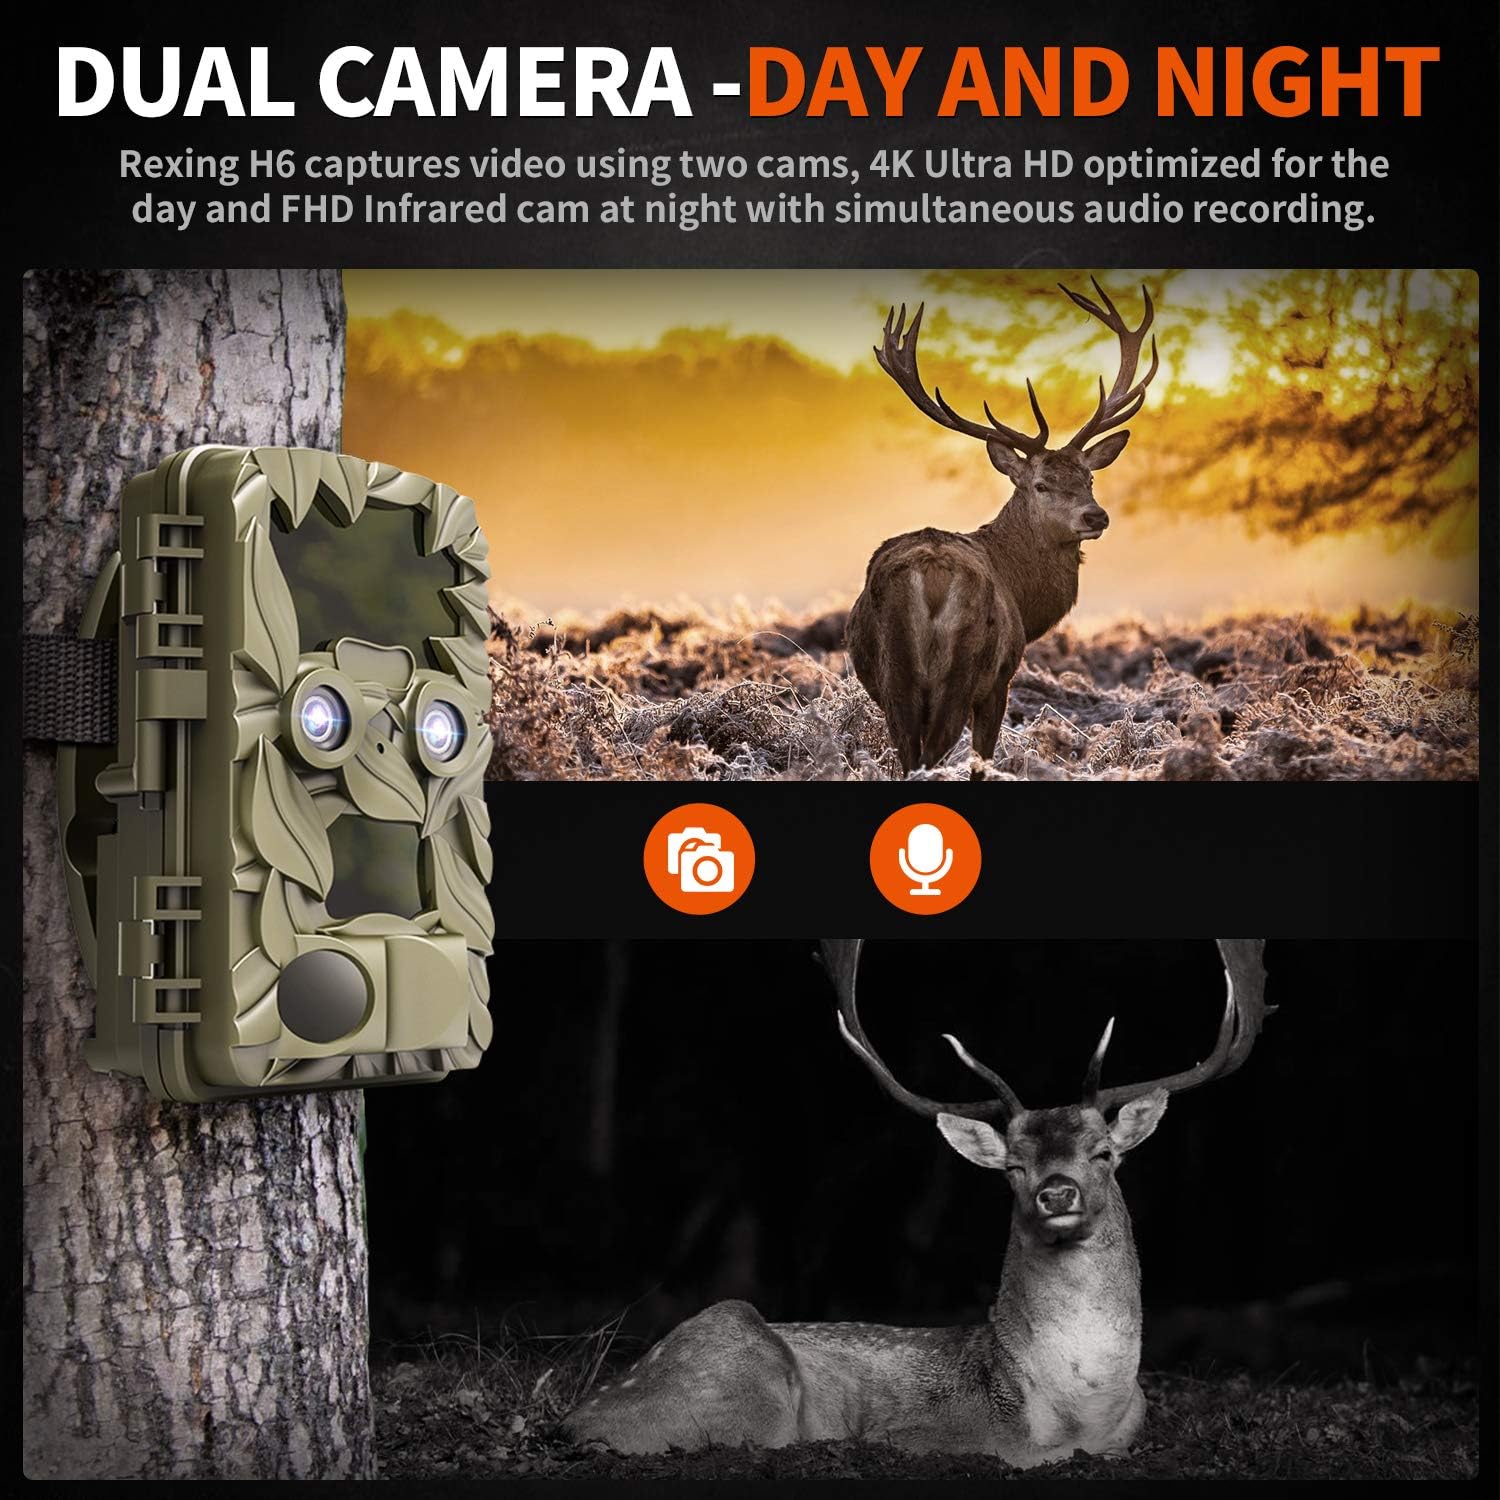
Figure 2.3: The H6 features a dual camera system, optimized for both day (4K) and night (FHD Infrared) recording, ensuring comprehensive surveillance around the clock.

Figure 2.4: Enhanced night vision capabilities of the H6, capturing clear images of wildlife up to 35 meters away in low light conditions, without disturbing sounds.

Figure 2.5: The H6 boasts a 120-degree detection angle and an ultra-fast 0.2-second trigger speed, ensuring no motion is missed.

Figure 2.6: Built to withstand the elements, the H6 is IP56 rated, making it resistant to heavy rain, ice, snow, dust, and mud.

Figure 2.7: The H6 is designed for low power consumption, compatible with 8x AA batteries, providing up to 12 months of standby time.

Figure 2.8: The REXING Woodlens H6 is versatile, suitable for multiple applications including wildlife monitoring, farm surveillance, and security.
3. Pasgan-susbaint
Thoir sùil air susbaint a’ phacaid gus dèanamh cinnteach gu bheil a h-uile rud ann:
- REXING Woodlens H6 Trail Camera
- Strap stàladh
- Càball USB
- Càball AV
- Leabhar-làimhe cleachdaiche
- (Optional: 8x AA Batteries - check product packaging)
4. Suidhich
4.1 Stàladh bataraidh
- Open the camera's outer casing le bhith a’ fuasgladh nan cliopan taobh.
- Lorg an roinn bataraidh.
- Insert 8x AA batteries, ensuring correct polarity (+/-) as indicated inside the compartment.
- Dùin an còmhdach roinn bataraidh gu tèarainte.
4.2 Cairt SD a chur a-steach
- Leis a’ chamara fosgailte, lorg an t-slot cairt SD.
- Insert a compatible SD card (up to 512GB) into the slot until it clicks into place. Ensure the card is inserted in the correct orientation.
- It is recommended to format the SD card via the camera's menu before first use.
4.3 A ’dìreadh a’ chamara
- Select a suitable location for the camera, such as a tree or pole, ensuring a clear view den raon a tha thu ag iarraidh.
- Snàthaich an strap-steapa a tha air a thoirt seachad tro na sliotan air cùl a’ chamara.
- Securely fasten the strap around the tree or pole, adjusting the camera's angle as needed.
- Alternatively, the camera can be wall-mounted using appropriate hardware (not included) via the mounting point.
4.4 Cumhachd Tòiseachaidh Air adhart
- After installing batteries and SD card, switch the camera to the "ON" position.
- The LCD screen will power on, and you can begin configuring settings.
5. Stiùireadh Obrachaidh
5.1 A’ seòladh tron chlàr-taice
Use the control buttons (MENU, UP, DOWN, LEFT, RIGHT, OK, SHOT) located next to the LCD screen to navigate through the camera's settings and modes.
- Clàr-taice: A’ faighinn cothrom air a’ phrìomh chlàr-taice roghainnean.
- UP / DOWN: A’ seòladh tro roghainnean clàr-taice.
- CLÌ DEAS: Adjusts values or selects sub-options.
- Ceart gu leòr: A ’daingneachadh taghadh.
- SHOT: Manually takes a photo or starts/stops video recording in preview modh.
5.2 Modhan Clàraidh
The H6 supports various recording modes:
- Modh Dealbh: A’ glacadh ìomhaighean fhathast (suas ri 20MP).
- Modh Bhidio: Records video (4K UHD day, FHD night).
- Dealbh + modh bhidio: Glacaidh e ìomhaigh fhathast agus an uair sin criomag bhidio nuair a thèid a lorg.
- Modh Lag-ùine: Captures photos or videos at set intervals to create time-lapse sequences.
5.3 Setting Up Scheduled Recording
To set specific times for the camera to operate:
- Cuir a-steach an MENU.
- Navigate to the "Timer" or "Schedule" setting.
- Set the desired start and end times for recording. The camera will only be active during these periods.
5.4 Viewing and Managing Recordings
Faodaidh clàran a bhith viewed directly on the camera or on an external device:
- On-Camera Playback: Use the built-in 2.4-inch LCD screen and navigation buttons to review air dealbhan agus bhideothan a ghlacadh.
- Ceangal Tbh: Connect the camera to a TV using the provided AV cable to view recordings on a larger screen.
- Ceangal coimpiutair: Connect the camera to a computer via the USB cable, or remove the SD card and insert it into a card reader, to transfer and view files.
5.5 Dìon facal-faire
To prevent unauthorized access to your camera settings and recordings:
- Cuir a-steach an MENU.
- Navigate to the "Password" or "Security" setting.
- Set a 4-digit PIN. Remember this PIN as it will be required to access the camera.
Video 5.1: Official product video demonstrating the features and operation of the REXING Woodlens H6 Trail Camera, including its dual lens capabilities, night vision, and user interface.
6. Cumail suas
- Glanadh: Use a soft, dry cloth to clean the camera body and lenses. Avoid abrasive cleaners or solvents.
- Ath-nuadhachadh bataraidh: Replace all batteries simultaneously when the low battery indicator appears to ensure optimal performance and prevent leakage.
- Stiùireadh cairt SD: Regularly back up important recordings and format the SD card periodically to maintain optimal recording performance and prevent data corruption.
- Stòradh: Nuair nach eilear ga chleachdadh airson ùine mhòr, thoir a-mach na bataraidhean agus stòraich an camara ann an àite fionnar, tioram air falbh bho sholas dìreach na grèine.
7. A ’dèanamh trioblaid
| Trioblaid | Adhbhar a dh’fhaodadh a bhith ann | Fuasgladh |
|---|---|---|
| Chan eil an camara a’ dol air. | Bataraidhean ìosal no marbh; stàladh ceàrr bataraidh. | Cuir bataraidhean ùra an àite a h-uile bataraidh, a’ dèanamh cinnteach gu bheil am polarachd cheart. |
| Camera stops functioning after installation / No data recorded. | SD card full or corrupted; incorrect SD card insertion; camera settings preventing recording. | Format the SD card (backup data first); ensure SD card is properly inserted; check recording mode and schedule settings. Ensure sufficient battery power. |
| Droch chàileachd ìomhaigh/bhidio air an oidhche. | IR lights obstructed; subject too far; low battery affecting IR performance. | Ensure clear line of sight for IR lights; position camera closer to subjects (within 65ft); replace batteries. |
| Camera not triggering motion. | PIR sensor obstructed; sensitivity setting too low; subject outside detection range. | Clear obstructions from PIR sensors; increase PIR sensitivity in settings; ensure subjects pass within the 110° detection angle. |
| Camera screen counts down and switches off. | This is normal behavior for the camera to enter monitoring mode after a brief display. | No action required. The camera is functioning as designed. |
| Gun cheangal Wi-Fi. | The REXING Woodlens H6 model does not feature Wi-Fi connectivity. | This model requires direct connection via AV/USB cable or SD card removal for data transfer. |
8. Sònrachaidhean
| Feart | Mion-fhiosrachadh |
|---|---|
| Brand | REXING |
| Modail | H6 |
| Fuasgladh glacadh bhidio | 2160p (4K UHD) |
| Fuasgladh fhathast èifeachdach | 20 BP |
| Teicneòlas sensor dhealbhan | CMOS |
| Sealladh na h-oidhche | 35M IR Flash, Double 850nm High Powered Infrared Light |
| Ceàrn Dearbhaidh PIR | 110° (Front + Side Sensor) |
| Astar brosnachaidh | 0.2 diog |
| Taisbeanadh | Built-in 2.4-inch LCD |
| Stòradh | Cairt SD (suas gu 512GB) |
| Stòr cumhachd | 8x AA Batteries (12 Month Standby) |
| Ceangalachd | AV Output, USB |
| Ìre Dìon Eadar-nàiseanta | IP66 |
| Meud pacaid nì | 7.68 x 4.92 x 3.9 òirleach |
| Cuideam pacaid | 0.61 cileagram |
| UPC | 810046601815 |
9. Barantas agus Taic
For warranty information and technical support, please refer to the official REXING weblàrach-lìn no cuir fios chun t-seirbheis teachdaiche aca gu dìreach. Cùm do chuidhteas ceannach mar dhearbhadh ceannach airson tagraidhean barantais sam bith.
Fiosrachadh conaltraidh:
- Weblàrach: www.rexingusa.com (Please verify the official website for the most current information)
- Post-d: Thoir iomradh air an weblàrach-lìn airson post-d taic.
- Fòn: Thoir iomradh air an weblàrach airson àireamh fòn taic.
Ask a question about this manual
Ask about setup, troubleshooting, compatibility, parts, safety, or missing instructions. Manuals+ will review the question and use this page’s manual context to help answer it.