1. Stiùireadh Sàbhailteachd Cudromach
Leugh na stiùiridhean gu lèir gu faiceallach mus stàlaich thu agus mus cleachd thu iad. Cùm an leabhar-làimhe seo airson fiosrachadh san àm ri teachd.
Sàbhailteachd Coitcheann
- Dèan cinnteach gu bheil an solar cumhachd air a dhì-cheangal mus tèid a stàladh, a chumail suas no a ghlanadh.
- Chan eilear an dùil an inneal seo a chleachdadh le daoine (a’ toirt a-steach clann) le comasan corporra, mothachaidh no inntinn nas lugha, no dìth eòlas agus eòlas, mura d’ fhuair iad stiùireadh no stiùireadh a thaobh cleachdadh an inneil le neach le uallach airson an sàbhailteachd.
- Bu chòir clann a bhith fo stiùir gus dèanamh cinnteach nach cluich iad leis an inneal.
Sàbhailteachd dealain
- All electrical connections must be made by a qualified electrician and conform to local codes and regulations.
- Dèan cinnteach gu bheil an voltage and frequency of your power supply match the specifications of the fan.
- The fan must be properly grounded to prevent electric shock.
Sàbhailteachd Stàladh
- Mount the fan to a ceiling structure capable of supporting a minimum of 15 kg (33 lbs).
- Ensure there is adequate clearance between the fan blades and any obstacles (walls, furniture) and the floor. A minimum distance of 2.3 meters (7.5 feet) from the floor to the blades is recommended.
- Do not install the fan in a location where it can be easily reached by children or pets.
2. Toradh thallview
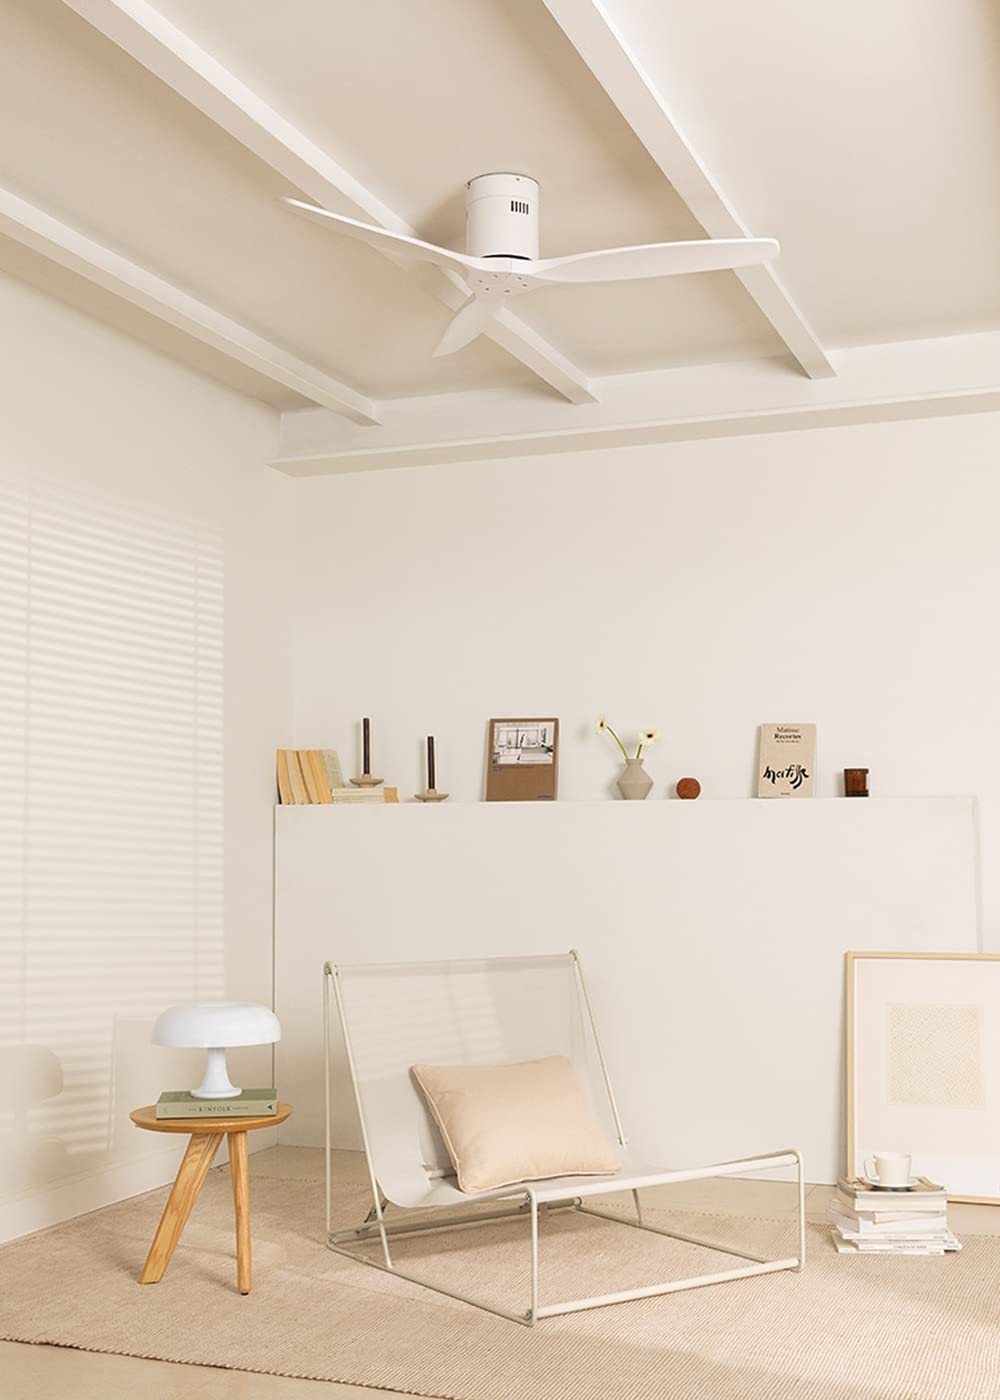
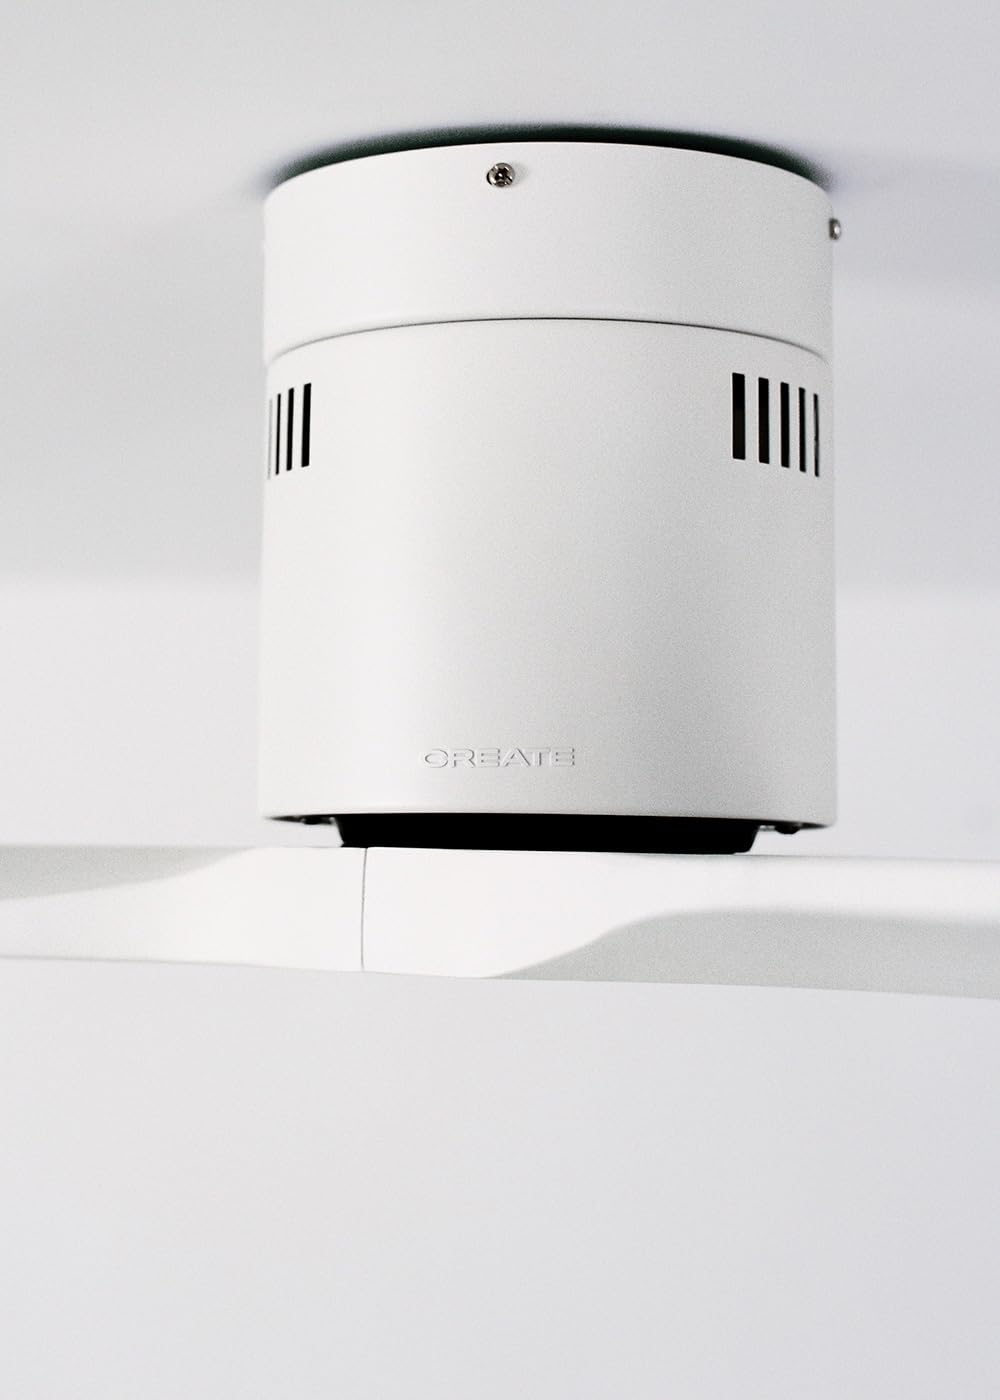
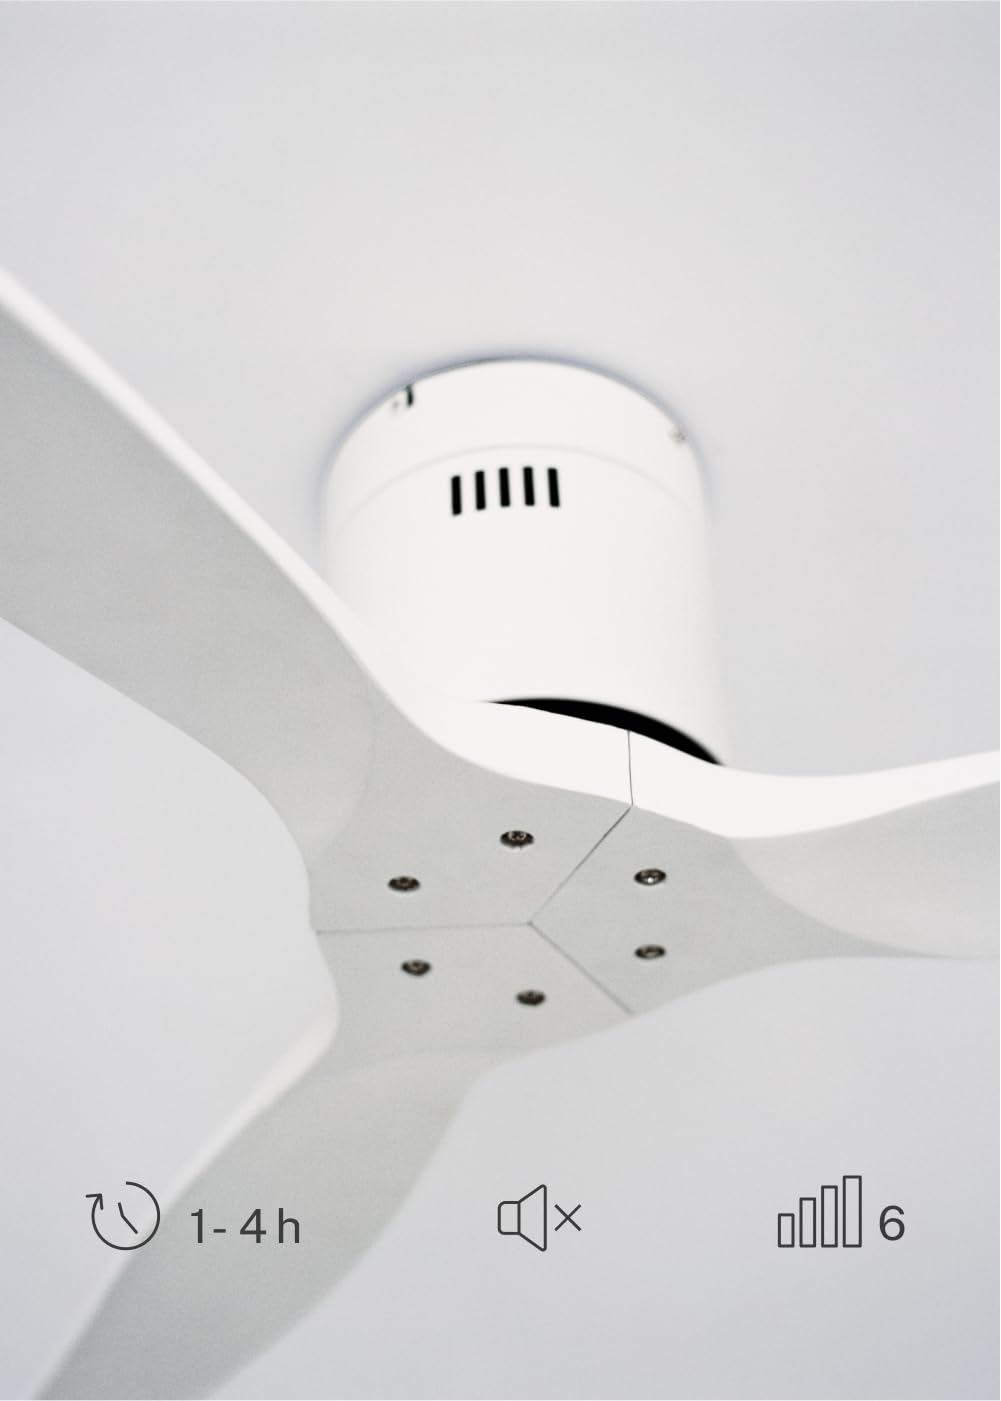
The CREATE WINDCALM DC Ceiling Fan is designed for efficient and quiet air circulation in various indoor spaces. It features a durable aluminum body, a silent DC motor, and three lightweight blades, ensuring minimal noise operation. The fan offers 6 adjustable speeds and a programmable timer for convenience.

3. Sònrachaidhean Teicnigeach
| Feart | Sònrachadh |
|---|---|
| Brand | CRUTHACHADH |
| Modail Àireamh | 43479_88375 |
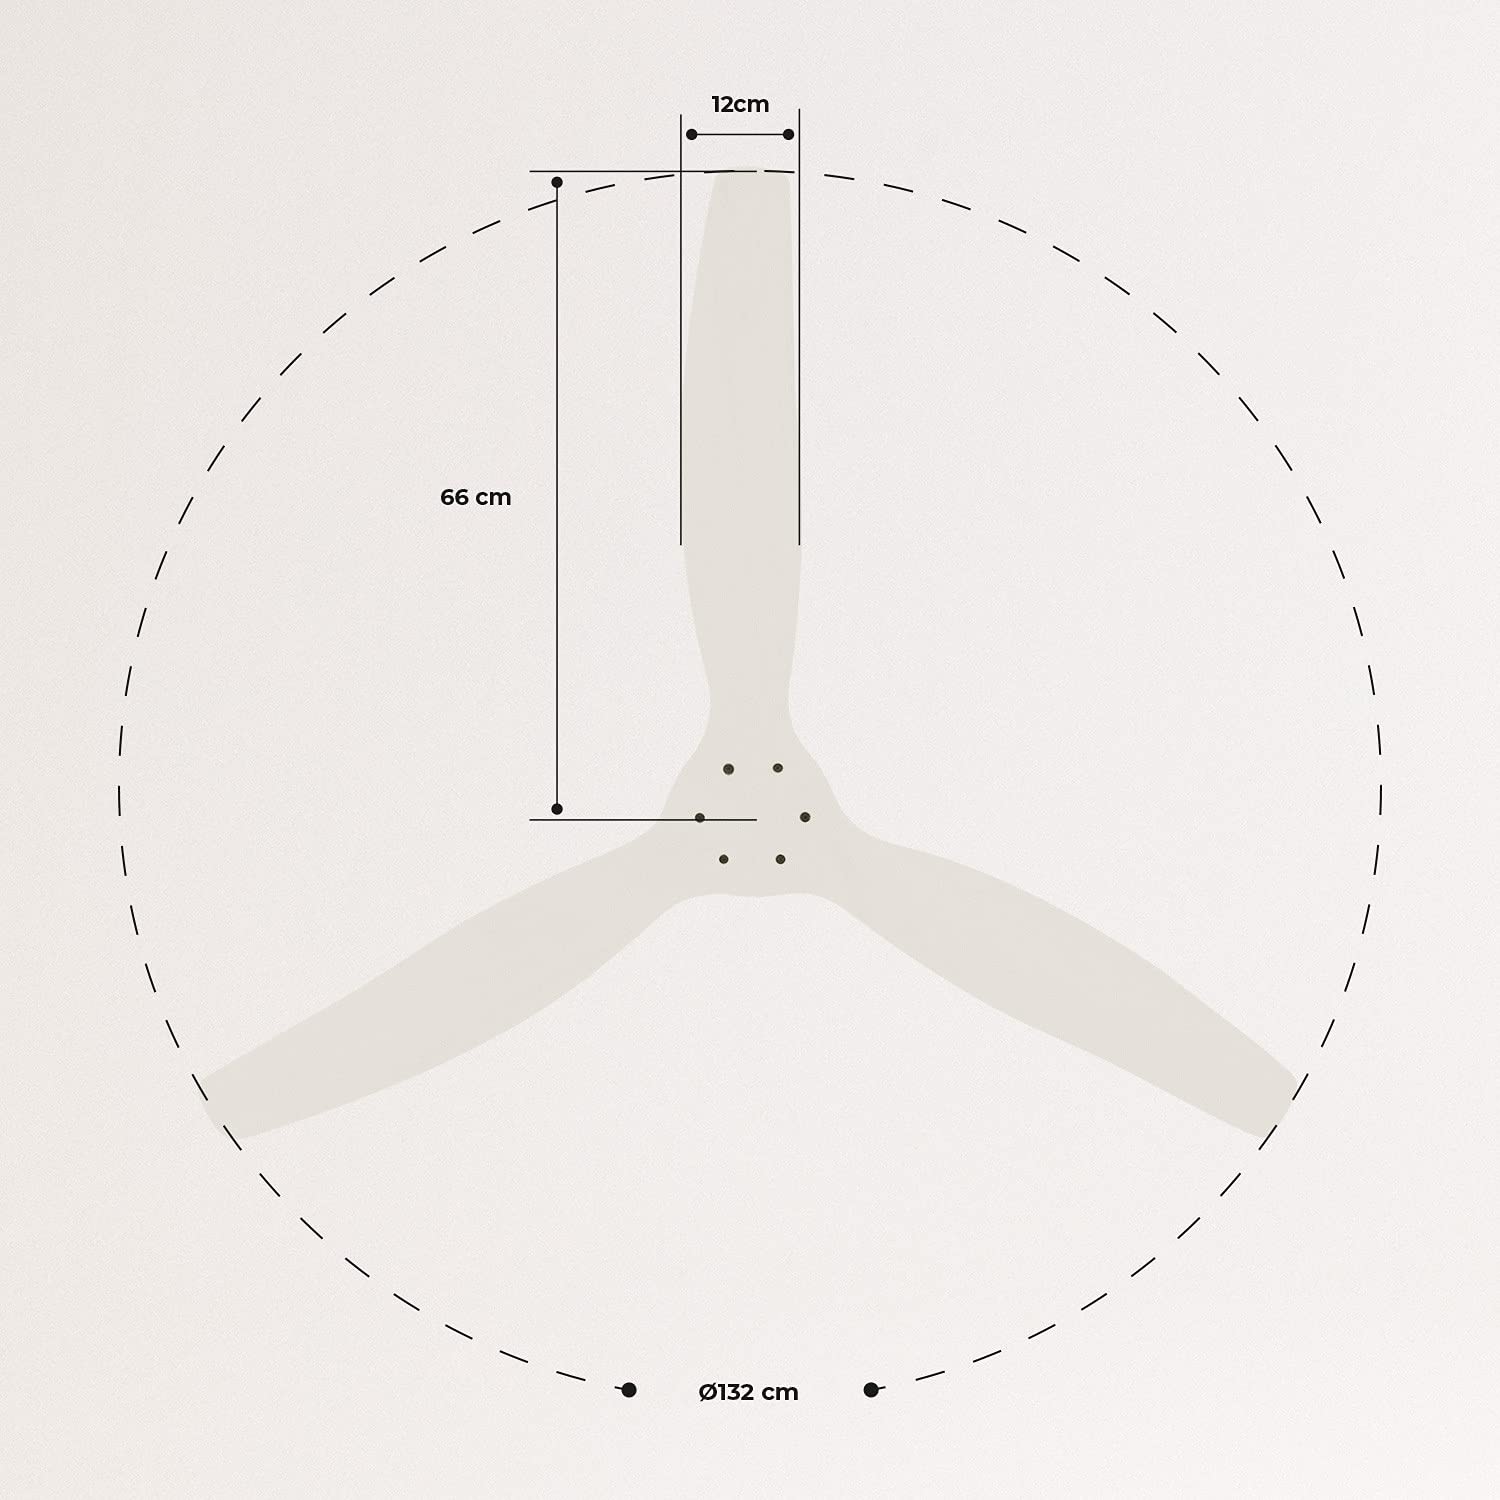
| Meudan (L x W x H) | 132 x 132 x 29 cm |
| Cuideam | 6.38 kg |
| Dealbhadh fan | Fan cèilidh |
| Stòr cumhachd | Càball dealain |
| Feart sònraichte | High Speed, Silent DC Motor, Timer, Summer/Winter Function |
| Cleachdadh air a mholadh | Fionnarachadh |
| Seòrsa Seòmar | Living Room (suitable for 13m² to 25m² rooms) |
| Dath | White Blades |

4. Stiùireadh stàlaidh
Proper installation is crucial for the safe and efficient operation of your ceiling fan. It is highly recommended that installation be performed by a qualified electrician.
Sgrùdaidhean ro-stàlaidh
- Fosgail na pàirtean uile agus dèan cinnteach gu bheil iad air an liosta pacaidh.
- Ensure the ceiling joist or support structure is strong enough to hold the fan's weight.
- Turn off power at the main circuit breaker before starting any electrical work.
Stàladh an Fan
- Secure the mounting bracket to the ceiling outlet box using appropriate screws and washers.
- Tog suas co-chruinneachadh motair an neach-leantainn gu faiceallach agus ceangail e ris a’ bhracaid sreap.
Ceanglaichean wiring
Connect the electrical wires according to the wiring diagram provided in the separate detailed installation manual (not included in this general overview). Ensure all connections are secure and insulated.
Attaching Blades
Attach the fan blades to the motor hub using the provided screws. Ensure all screws are tightened securely.

5. Stiùireadh Obrachaidh
Your CREATE WINDCALM DC Ceiling Fan comes with a remote control for convenient operation of all its functions.
Gnìomhan smachd iomallach
Leigidh an smachd iomallach leat:
- Cumhachd air / dheth: Tionndaidh an neach-leantainn air no dheth.
- Atharrachadh astair: Select from 6 different fan speeds to control airflow intensity.
- Suidheachadh timer: Program the fan to automatically turn off after 1, 2, or 4 hours.
- Modh Samhraidh/Geamhraidh: Change the direction of blade rotation to optimize air circulation for different seasons.
Modh samhraidh
In summer mode, the fan blades rotate counter-clockwise, pushing air downwards. This creates a cooling breeze effect, helping to dissipate heat and refresh the room.

Modh Geamhraidh
In winter mode, the fan blades rotate clockwise, drawing air upwards. This helps to circulate warm air that accumulates near the ceiling, distributing it evenly throughout the room and improving heating efficiency.
6. Cumail suas agus Cùram
Bidh cumail suas cunbhalach a’ dèanamh cinnteach gum mair an neach-leantainn mullaich agad fad-beatha agus gum bi e ag obair gu math.
Glanadh
- Cuir dheth an cumhachd chun an neach-leantainn aig a’ bhriseadair cuairte an-còmhnaidh mus glan thu e.
- Cleachd bog, damp cloth to wipe down the fan blades and motor housing. Do not use abrasive cleaners or solvents, as they may damage the finish.
- Ensure the fan is completely dry before restoring power.
Sgrùdaidhean cunbhalach
- Periodically check all screws and fasteners on the mounting bracket and blade attachments to ensure they are secure. Tighten if necessary.
- Listen for any unusual noises during operation, which may indicate a loose part or an issue with the motor.
7. A ’dèanamh trioblaid
If you encounter any issues with your fan, refer to the following common problems and their solutions:
| Trioblaid | Adhbhar a dh’fhaodadh a bhith ann | Fuasgladh |
|---|---|---|
| Chan eil fan a 'tionndadh air | Gun solar cumhachd Ceangal uèirleas sgaoilte Bataraidh smachd iomallach ìosal | Thoir sùil air briseadair cuairte agus suidse balla Verify all wiring connections are secure (consult electrician) Cuir an àite bataraidhean smachd iomallach |
| Bidh an neach-leantainn a’ dèanamh cus fuaim | Sgriothan sgaoilte air lannan no air an stàladh Lann lùbte Cùis motair | Dèan teannachadh air na sgriothan gu lèir Check blades for damage and replace if necessary Cuir fios gu taic teachdaiche |
| Chan eil smachd iomallach ag obair | Bataraidh air ìsleachadh Bacaidh eadar iomallach agus cuidhteas Chan eil an inneal-iùil air a chàradh (mas e iomchaidh) | Cuir bataraidhean an àite Dèan cinnteach à sealladh soilleir Refer to detailed manual for pairing instructions |
| Fan a’ suathadh | Meur sreap sgaoilte Brògan neo-chothromach | Dèan cinnteach gu bheil am bracaid-sreap ceangailte gu tèarainte Check blade balance and use balancing kit if needed |
8. Barantas agus Taic
For warranty information, technical support, or replacement parts, please contact CREATE customer service. Keep your purchase receipt as proof of purchase.
You can find more information and contact details on the official CREATE weblàrach: www.create-store.com