1. Toradh thallview
The Atlanta 1882-19 is a compact, radio-controlled digital alarm clock designed for ease of use. It features an easy-to-read LCD display that shows the current time, date, and temperature. The clock automatically adjusts its time based on the DCF77 atomic clock radio signal, including automatic daylight saving time changes. It includes a convenient snooze function and a blue backlight for visibility in low light conditions.
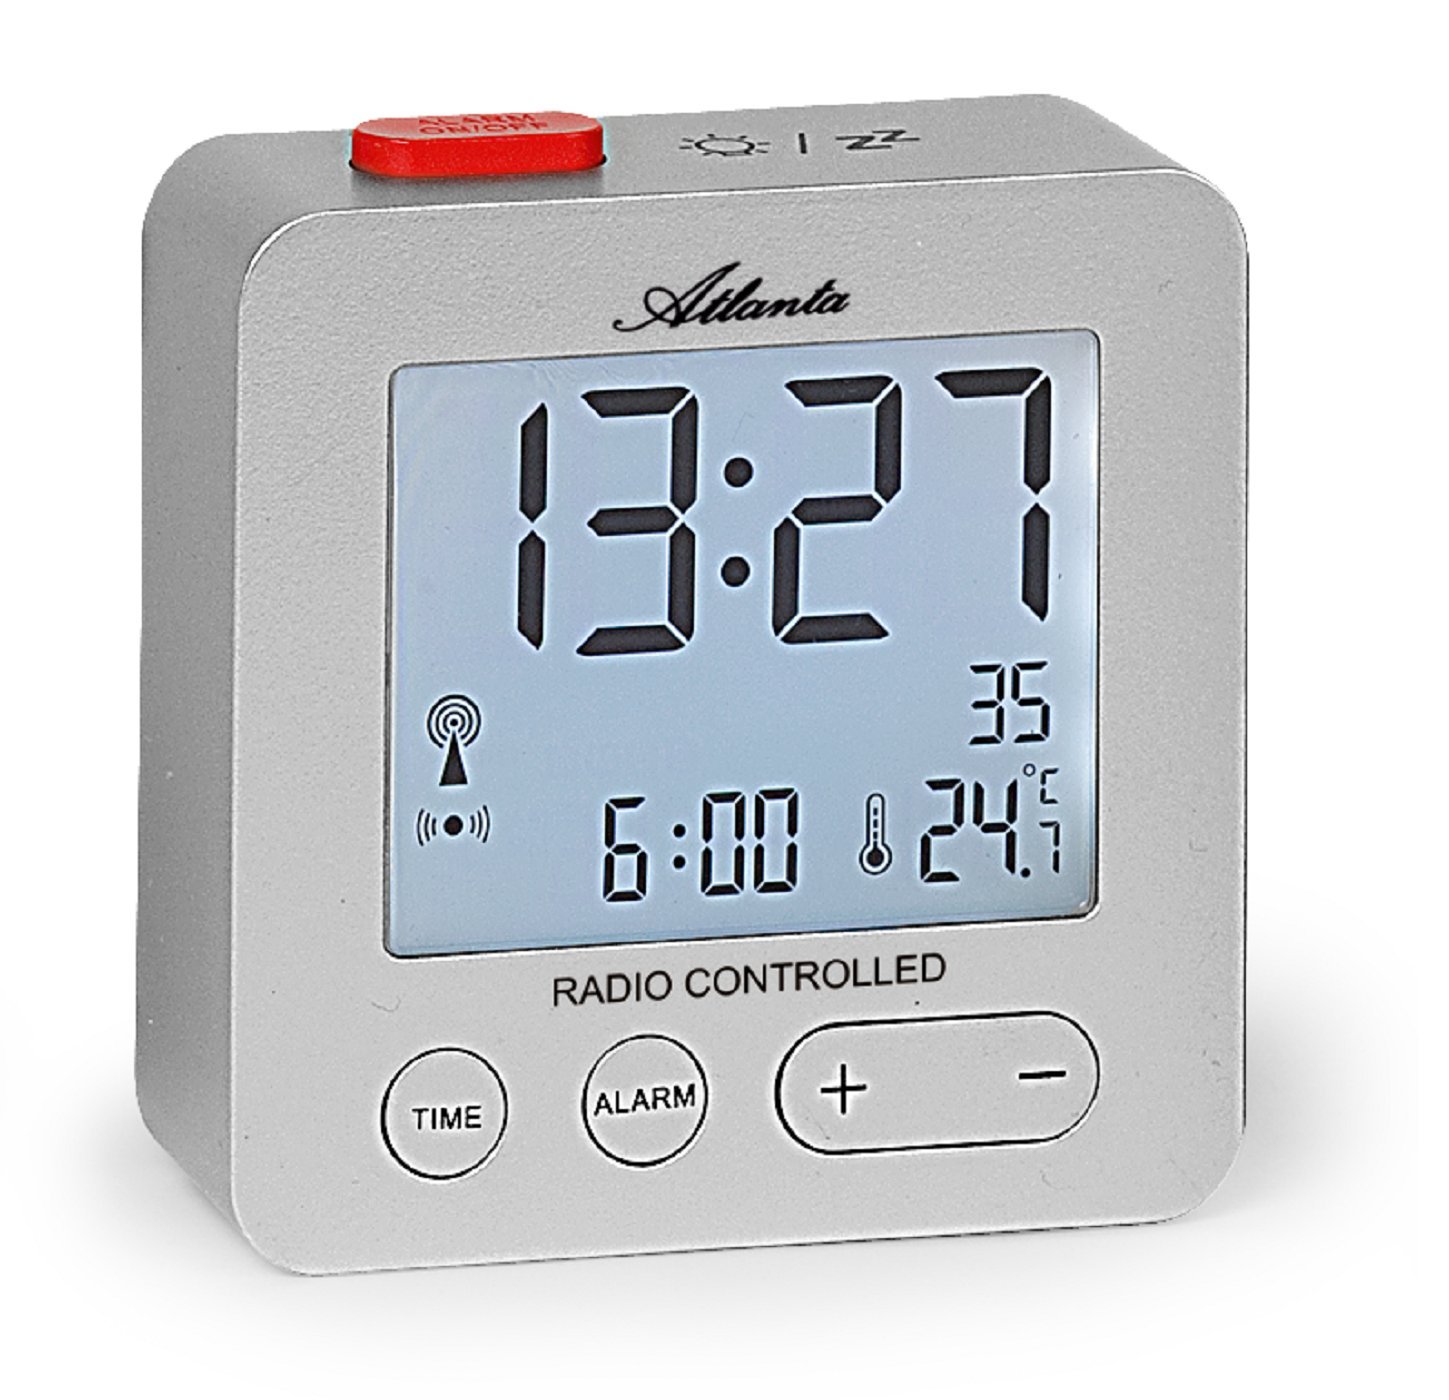
Figear 1: Aghaidh view of the Atlanta 1882-19 Digital LCD Alarm Clock. The display shows the time, date, and temperature, along with a radio signal indicator. A red button for alarm on/off is visible on top.
2. Pasgan-susbaint
- Atlanta 1882-19 Digital LCD Alarm Clock
- Leabhar-làimhe cleachdaiche (an sgrìobhainn seo)
Nota: Chan eil bataraidhean air an toirt a-steach agus feumar an ceannach air leth.
3. Suidhich
3.1 Stàladh bataraidh
- Lorg còmhdach roinn a’ bhataraidh air cùl a’ chloc-rabhaidh.
- Sleamhnaich no dì-chrioptaich an còmhdach gus an roinn fhosgladh.
- Insert the required batteries (typically 2x AAA, not included) according to the polarity indicators (+ and -) inside the compartment.
- Cuir còmhdach roinn a’ bhataraidh air ais, a’ dèanamh cinnteach gu bheil e dùinte gu tèarainte.

Figear 2: Cùl view of the alarm clock, illustrating the battery compartment and the 'WAVE' button for radio signal reception.
3.2 Initial Power On and Radio Signal Reception
Upon battery installation, the clock will automatically attempt to receive the DCF77 radio signal to set the time. This process may take several minutes. Ensure the clock is placed away from electronic devices that may cause interference and near a window for optimal signal reception.
- A radio signal icon will appear on the display when the clock is attempting to receive the signal.
- Once the signal is successfully received, the time will automatically set, and the icon will stabilize.
- If the signal is not received after a prolonged period, try relocating the clock or manually setting the time (refer to section 4.1).
4. Stiùireadh Obrachaidh
4.1 Setting Time Manually
In areas with poor radio signal reception, the time can be set manually.
- Brùth agus cùm an AM FEAR-CIUIL button (located on the front) for a few seconds until the time display starts flashing.
- Cleachd an + agus - putanan gus na h-uairean atharrachadh.
- Brùth an AM FEAR-CIUIL button again to switch to minutes adjustment. Use + agus - gus mionaidean a shuidheachadh.
- Lean air adhart a 'bruthadh AM FEAR-CIUIL gus gluasad tro roghainnean na bliadhna, na mìosa agus an latha, ag atharrachadh gach fear le + agus -.
- Brùth AM FEAR-CIUIL one last time or wait a few seconds for the settings to be saved.
4.2 A' suidheachadh an Alarm
- Brùth agus cùm an ALARM button (located on the front) for a few seconds until the alarm time display starts flashing.
- Cleachd an + agus - buttons to adjust the alarm hours.
- Brùth an ALARM button again to switch to alarm minutes adjustment. Use + agus - gus mionaidean a shuidheachadh.
- Brùth ALARM one last time or wait a few seconds for the alarm setting to be saved.
- To activate or deactivate the alarm, briefly press the red ALARM AIR / OFF button on the top of the clock. An alarm icon will appear on the display when the alarm is active.
4.3 Gnìomh Snooze
When the alarm sounds, press the red ALARM AIR / OFF button on the top of the clock to activate the snooze function. The alarm will temporarily stop and sound again after a few minutes (typically 5-10 minutes, depending on the model's default setting).
4.4 Taisbeanadh Backlight
To illuminate the display with a blue backlight, briefly touch the top of the clock. The backlight will remain on for a few seconds, providing temporary visibility in the dark.
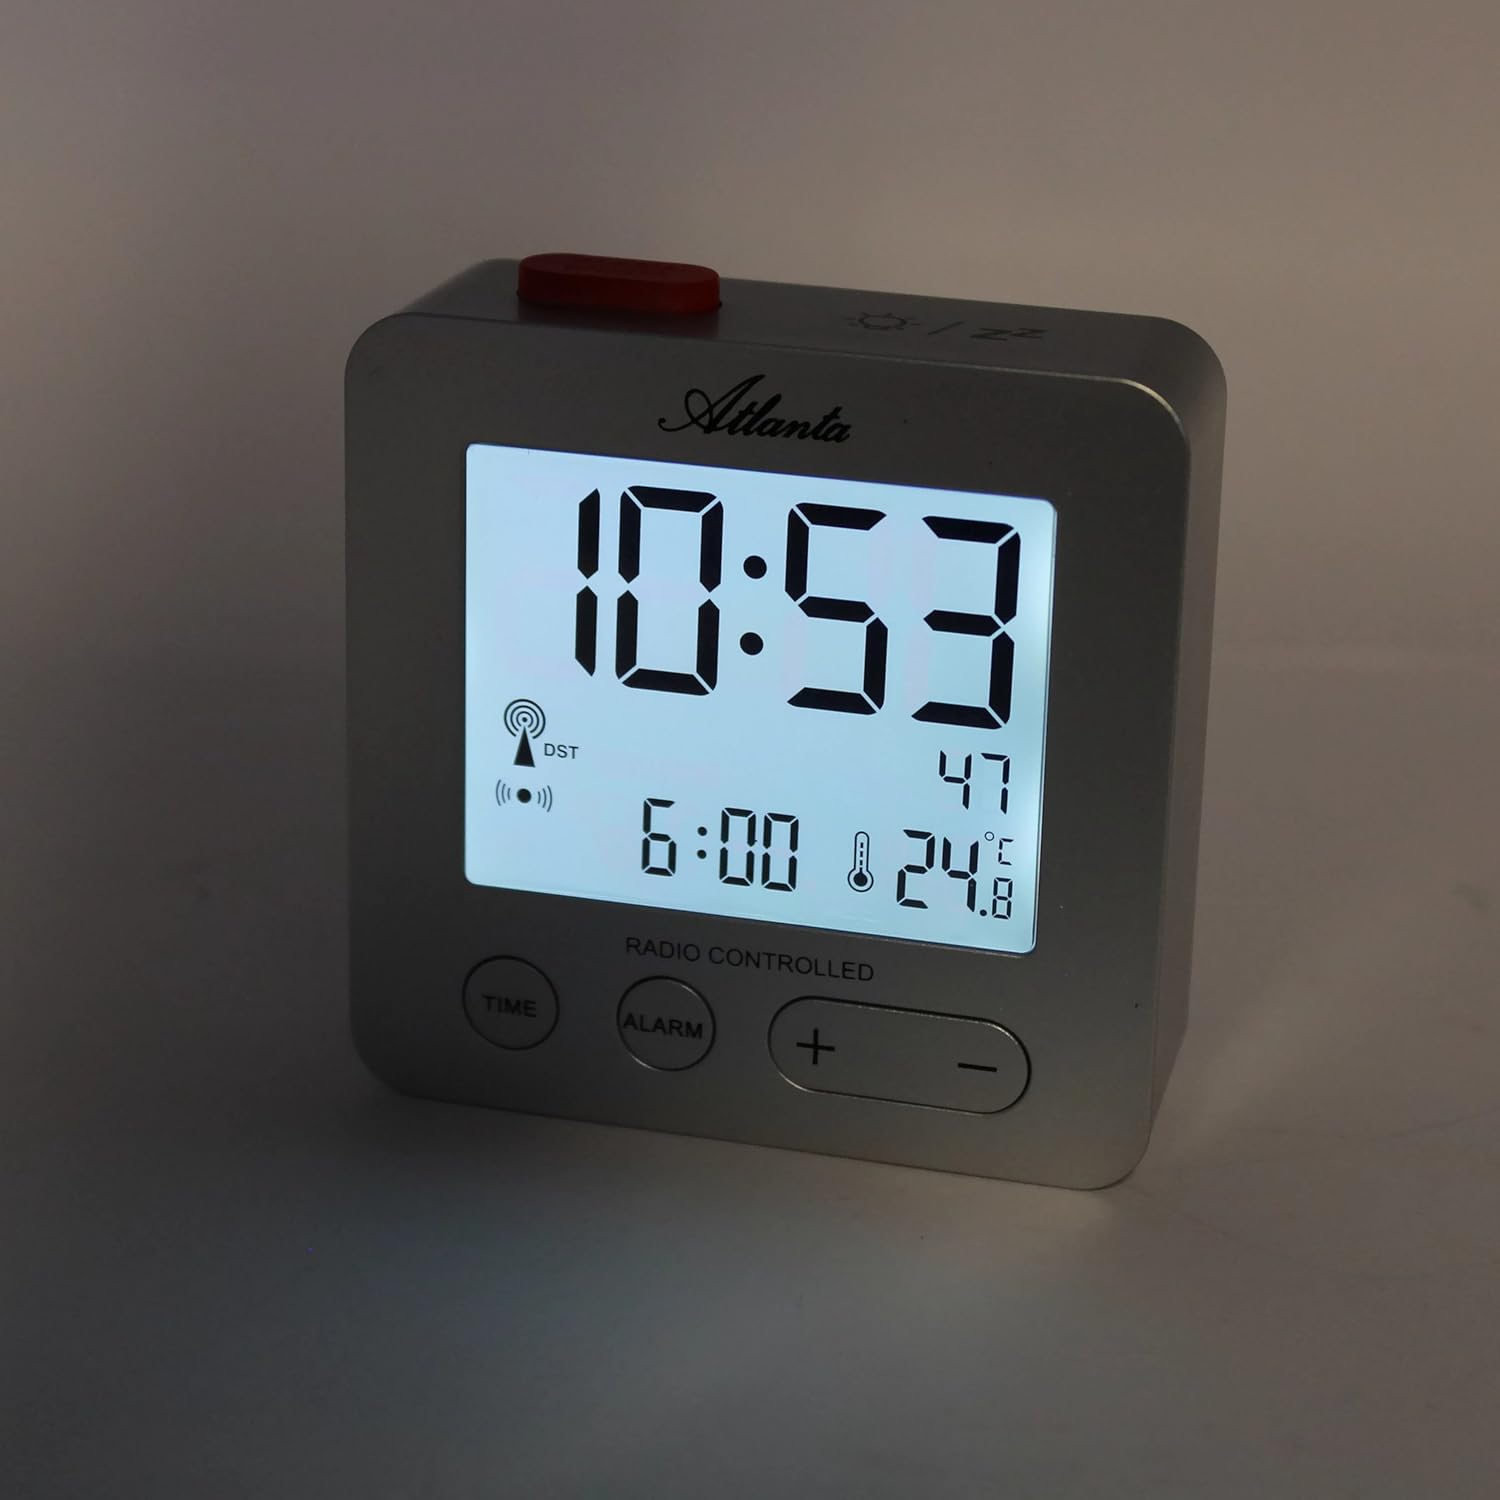
Figear 3: The alarm clock display with the blue backlight activated, enhancing readability in low light.
4.5 Temperature and Date Display
The clock continuously displays the indoor temperature and the current date alongside the time. No specific action is required to view these details.
5. Cumail suas
- Glanadh: Sguab an gleoc le clò bog, tioram. Na cleachd innealan-glanaidh sgrìobach no fuasglaidhean.
- Ath-nuadhachadh bataraidh: Replace batteries when the display dims or the clock functions become unreliable. Always replace all batteries at the same time with new ones of the same type.
- Stòradh: Ma bhios tu a’ stòradh a’ ghleoc airson ùine mhòr, thoir a-mach na bataraidhean gus casg a chur air aodion.
6. A ’dèanamh trioblaid
- Clock not setting time automatically:
Ensure the clock is placed in an open area, away from electronic interference (e.g., TVs, computers, mobile phones). Try placing it near a window. If the issue persists, manually set the time as described in section 4.1. - Alarm gun fhuaim:
Verify that the alarm is activated (alarm icon visible on display). Check battery levels and replace if necessary. - Tha an taisbeanadh dorcha no bàn:
Replace the batteries. Ensure batteries are inserted with correct polarity. - Leughadh teòthachd ceàrr:
Ensure the clock is not exposed to direct sunlight or placed near heat sources/vents, which can affect the sensor.
7. Sònrachaidhean
| Modail Àireamh | 1882/19 |
| Brand | Atlantaig |
| Seòrsa Taisbeanaidh | LCD didseatach |
| Feartan sònraichte | Temperature Display, Alarm, Snooze, Radio-Controlled (DCF77), Backlight |
| Meudan (L x W x H) | 7 x 3.81 x 7 cm (mu 2.76 x 1.5 x 2.76 òirleach) |
| Cuideam | 65 gram (timcheall air 2.3 unnsa) |
| Stòr cumhachd | Cumhachdaichte le bataraidh (Chan eil bataraidhean air an toirt a-steach) |
| Stuth | Plastaig (Acrylonitrile Butadiene Styrene) |
| Dath | Airgiod |
8. Barantas agus Taic
This product comes with a standard manufacturer's warranty. For detailed warranty information, please refer to the packaging or contact Atlanta customer support. For technical assistance or further inquiries, please visit the official Atlanta weblàrach-lìn no cuir fios chun roinn seirbheis teachdaiche aca.