InFocus IN124
Proiseactair InFocus IN124 DLP
Leabhar-làimhe cleachdaiche
1. Ro-ràdh
This manual provides comprehensive instructions for the setup, operation, and maintenance of your InFocus IN124 DLP Projector. Please read this manual thoroughly before using the projector to ensure proper functionality and to maximize its lifespan.
The InFocus IN124 is designed to deliver clear and bright projections, suitable for various environments including home cinema and business presentations. Its compact design and robust features make it a versatile display solution.
2. Co-phàirtean toraidh
Upon unboxing your InFocus IN124 DLP Projector, please verify that all the following components are included:
- InFocus IN124 DLP Projector Unit
- Smachd Iomallach
- Càball cumhachd
- VGA Cable (may vary by region/package)
- User Manual (this document, typically on CD or downloadable)
If any items are missing or damaged, please contact InFocus customer support immediately.
3. Suidhich
3.1 Suidheachadh Corporra
Position the projector on a stable, flat surface or mount it securely to a ceiling. Ensure adequate ventilation around the unit to prevent overheating. Maintain a clear path between the projector lens and the projection surface (screen or wall).
3.2 Innealan ceangail
The InFocus IN124 supports various input sources. Connect your source device (e.g., laptop, DVD player, gaming console) to the projector using the appropriate cable.
- HDMI: For high-definition digital video and audio. Connect an HDMI cable from your source device to the HDMI port on the projector.
- VGA: For analog video input, commonly used with computers. Connect a VGA cable from your computer's VGA output to the VGA input on the projector.
- Bhidio iom-fhillte: For standard definition video. Connect a composite video cable (yellow RCA) to the corresponding port.
- Fuaim a-steach / a-mach: Connect external audio devices if needed.
3.3 A’ cur cumhachd air adhart
Às dèidh dhut na càbaill riatanach uile a cheangal:
- Ceangail an càball cumhachd ris a’ phroiseactair agus an uair sin ri socaid cumhachd.
- Press the power button on the projector's control panel or the remote control. The power indicator light will change, and the projector lamp soillsichidh.
- Leig leis a’ phroiseactair blàthachadh beagan mhionaidean agus an ìomhaigh a thaisbeanadh.
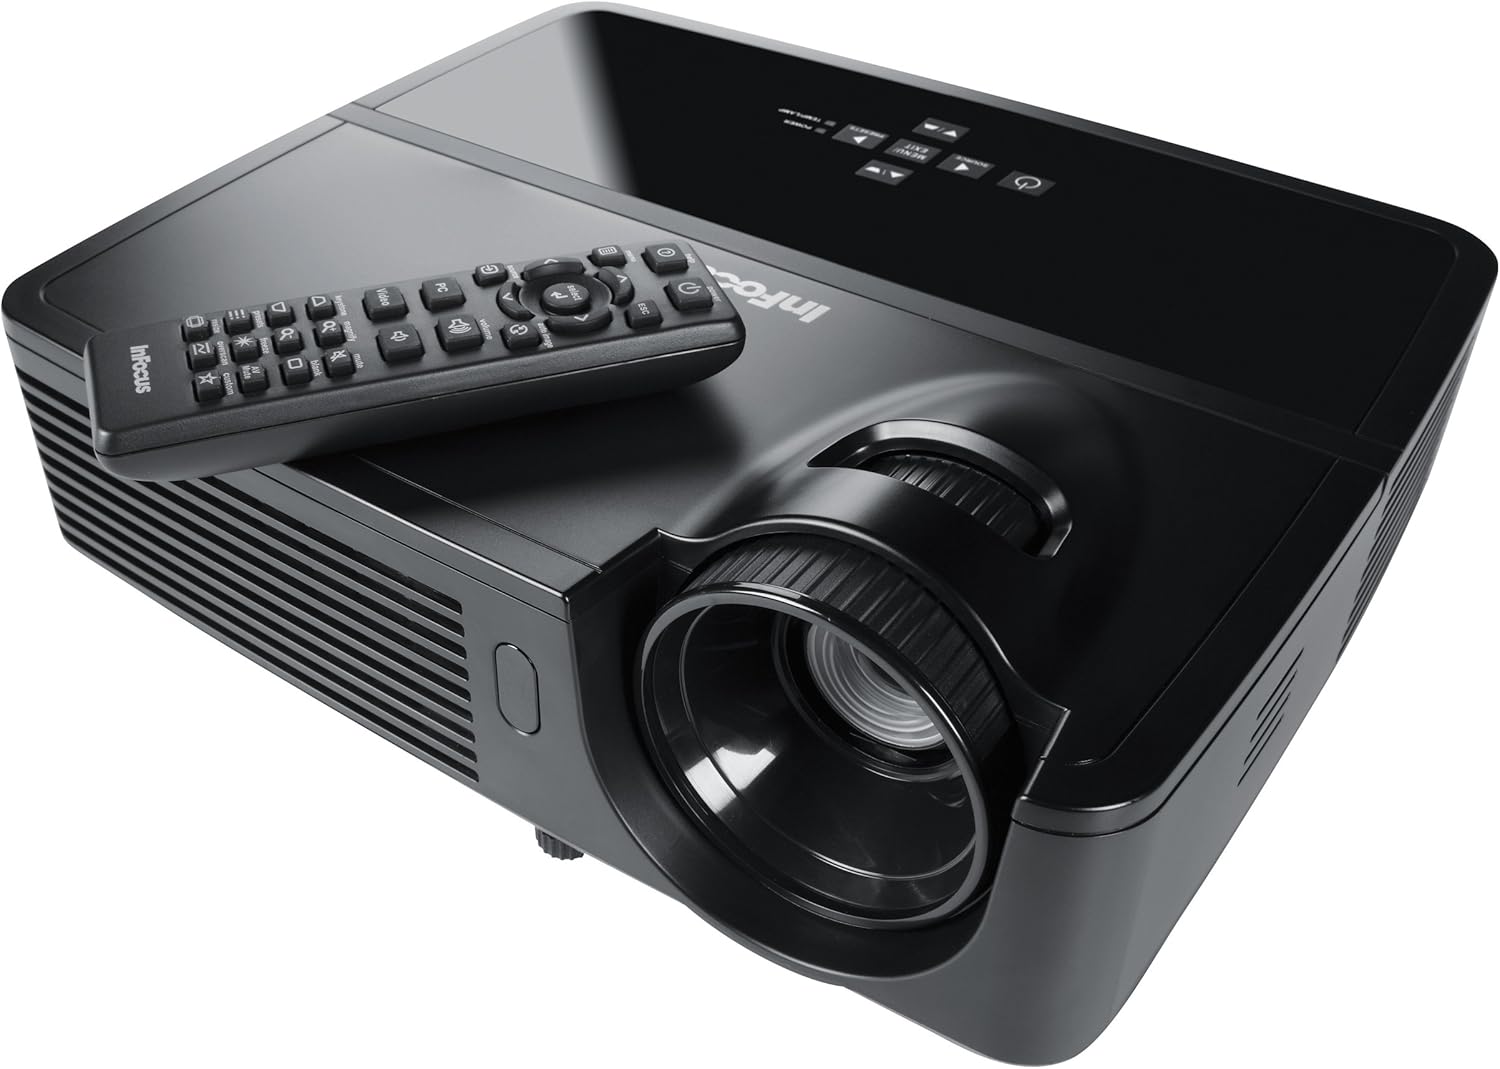
Figure 1: InFocus IN124 DLP Projector with its remote control. The image shows the top-down view of the black projector unit, highlighting the lens, ventilation grilles, and the control panel. The remote control is placed on top of the projector.
4. A’ cleachdadh a’ phròiseictar
4.1 Smachdan Bunaiteach
The projector can be operated using the control panel on the unit or the included remote control.
- Putan Cumhachd: Tionndaidh am proiseactair air no dheth.
- Putan stòr: Cycles through available input sources (HDMI, VGA, Video).
- Putan Clàr-taice: Accesses the on-screen display (OSD) menu for settings adjustments.
- Putanan saighead: Seòl tro roghainnean a’ chlàir-taice agus atharraich luachan.
- Putan Cuir a-steach/Tagh: A’ dearbhadh taghaidhean sa chlàr-taice.
- Putanan tomhas-lìonaidh: Atharraich an ìre toraidh claisneachd.
- Ceartachadh Keystone: Atharraichidh seo cumadh na h-ìomhaigh gus saobhadh trapesoidal a cheartachadh.
- Cearcall Fòcas: Manually adjust the lens to sharpen the image.
4.2 Seòladh is Roghainnean a’ Chlàir-taice
Press the "Menu" button to open the On-Screen Display (OSD). Use the arrow keys to navigate through categories such as "Picture," "Display," "Setup," and "Advanced." Press "Enter" to select a category or option. Adjust settings like brightness, contrast, color temperature, aspect ratio, and resolution to optimize your viewann an eòlas.
4.3 Gnìomhachd 3D
The InFocus IN124 is 3D-ready. To experience 3D content, you will need compatible 3D source material, a 3D-capable player, and active DLP Link 3D glasses (sold separately). Refer to your 3D source device's manual for specific setup instructions.
5. Cumail suas
Regular maintenance ensures optimal performance and extends the life of your projector.
5.1 Glanadh an Lionsa
Use a soft, lint-free cloth specifically designed for optical lenses. Gently wipe the lens surface to remove dust or smudges. Avoid using abrasive cleaners or excessive force, which can scratch the lens.
5.2 Glanadh Chriathragan Adhair
The projector has air filters to prevent dust from entering the internal components. Locate the filter cover (refer to the diagram in the full manual if available) and remove it. Clean the filter using a small brush or a vacuum cleaner with a brush attachment. Replace the filter securely.
5.3 lamp Ath-chur
Am proiseactair lamp tha fad-beatha crìochnaichte aige. Nuair a bhios an lamp indicator light illuminates or the image becomes dim, it's time to replace the lamp. Always allow the projector to cool down completely before attempting lamp replacement. Consult the full service manual or a qualified technician for detailed lamp replacement procedures specific to the IN124 model.
6. A ’dèanamh trioblaid
Tha an earrann seo a’ dèiligeadh ri cùisean cumanta a dh’ fhaodadh tu a thighinn tarsainn leis a’ phroiseactair agad.
| Trioblaid | Adhbhar a dh’fhaodadh a bhith ann | Fuasgladh |
|---|---|---|
| Chan eil ìomhaigh air a thaisbeanadh | Incorrect input source selected; Loose cable connection; Projector not powered on. | Press the "Source" button to cycle inputs; Check all cable connections; Ensure projector is powered on and lamp air a lasadh. |
| Tha an ìomhaigh blurry | Out of focus; Incorrect resolution setting. | Adjust the focus ring on the lens; Adjust the resolution setting in the OSD menu or on your source device. |
| Tha an ìomhaigh trapezoidal | Chan eil am proiseactair ceart-cheàrnach ris an sgrion. | Use the keystone correction feature (digital or manual) to square the image. Reposition the projector if possible. |
| Gun fhuaim | Volume too low; Incorrect audio input selected; Muted. | Increase volume; Check audio cable connections; Ensure projector or source device is not muted. |
| Bidh am proiseactair a’ teasachadh cus agus a’ dùnadh sìos | Fionnarachadh dùinte; Criathrag adhair salach. | Ensure clear space around vents; Clean air filter as per maintenance section. |
For issues not listed here, please refer to the comprehensive online support resources or contact InFocus customer service.
7. Sònrachaidhean
Below are the key technical specifications for the InFocus IN124 DLP Projector:
| Feart | Mion-fhiosrachadh |
|---|---|
| Modail Àireamh | IN124 |
| Teicneòlas taisbeanadh | DLP |
| Fuasgladh Dùthchasach | 1280x720 (HD) |
| Gile | Suas gu 3200 Lumens |
| Co-mheas coimeas | 3000:1 |
| Ceangalachd | HDMI, VGA, Bhidio Co-dhèanta |
| Feartan sònraichte | 3D-deiseil |
| Meudan toraidh (L x W x H) | 12.99 x 12.99 x 5.9 òirleach |
| Cuideam nì | 4.78 not (2.17 kg) |
| Solar cumhachd | 100-240 Volts at 50-60 Hz |
| Cleachdadh air a mholadh | Taigh-dhealbh |
8. Barantas agus Taic
InFocus provides a limited warranty for the IN124 DLP Projector. For detailed warranty terms and conditions, please refer to the warranty card included with your product or visit the official InFocus weblàrach. Cùm do chuidhteas ceannach mar dhearbhadh ceannach airson tagraidhean barantais.
For technical support, troubleshooting assistance beyond this manual, or service requests, please contact InFocus customer support through their official website or the contact information provided in your product documentation. Online resources, including FAQs and driver downloads, may also be available.